
Setting up and Using Apple Pay on your Apple Watch
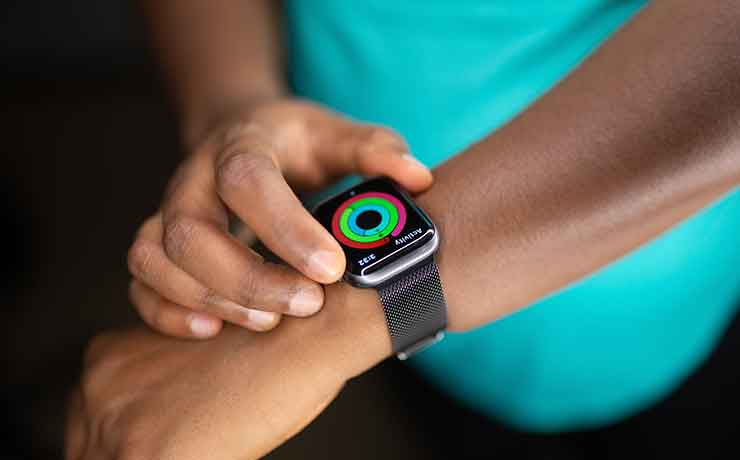
Apple Pay on your Apple Watch allows for effortless and secure transactions right from your wrist. No need to fumble for your wallet or phone – simply tap and go. In this guide, we'll walk you through the super easy process to set up Apple Pay and make the most of this convenient feature.

Step 1: Accessing the Wallet App
Begin by locating the Wallet app on your iPhone. This is where the magic starts. Open the app, and you'll see the "+" symbol in the top right corner. Tap on it to add a new card.
Step 2: Adding Your Card
Follow the prompts to add your debit or credit card to the Wallet. For an extra layer of security, Apple will ask you to verify your card through your bank's authentication process.
Step 3: Syncing with Your Apple Watch
Once your card is added to the Wallet on your iPhone, it will automatically sync with your Apple Watch. You can manage your cards and preferences in the Apple Watch app on your iPhone, ensuring a personalised and tailored experience.
Step 4: Making Payments
Now that your cards are set up, it's time to put Apple Pay to use. Simply double-press the side button on your Apple Watch, choose your desired card, and hold the watch close to the payment terminal. A gentle vibration and beep will confirm your successful transaction.
Benefits of Using Apple Pay on Your Apple Watch:
- Convenience - Leave your wallet at home – your Apple Watch is all you need for quick and secure payments.
- Security - With Face ID or Touch ID verification and unique transaction codes, your financial information remains protected while you perform one simple manoeuvre
- Speed - Streamline your checkout experience and spend less time at the counter. No more fumbling around with your wallet, conscious of the line of growingly frustrated shoppers behind you - simply tap and go!



1 comment
Yes
Ebrahim Udum
Leave a comment
This site is protected by hCaptcha and the hCaptcha Privacy Policy and Terms of Service apply.