
Easy Steps to Swap Apple Watch Bands: A Beginner’s Friendly Guide
Introduction: Just got your hands on a brand new Apple Watch? Congratulations!
One of the most exciting features of your new accessory is the ability to change its bands, allowing for a fresh and personalised look.
At Buckle & Band, we simplify this process for you. Follow our easy, step-by-step guide to swap your Apple Watch bands like a pro, even if you’re doing it for the first time.
Step 1: Get Ready with Your Materials
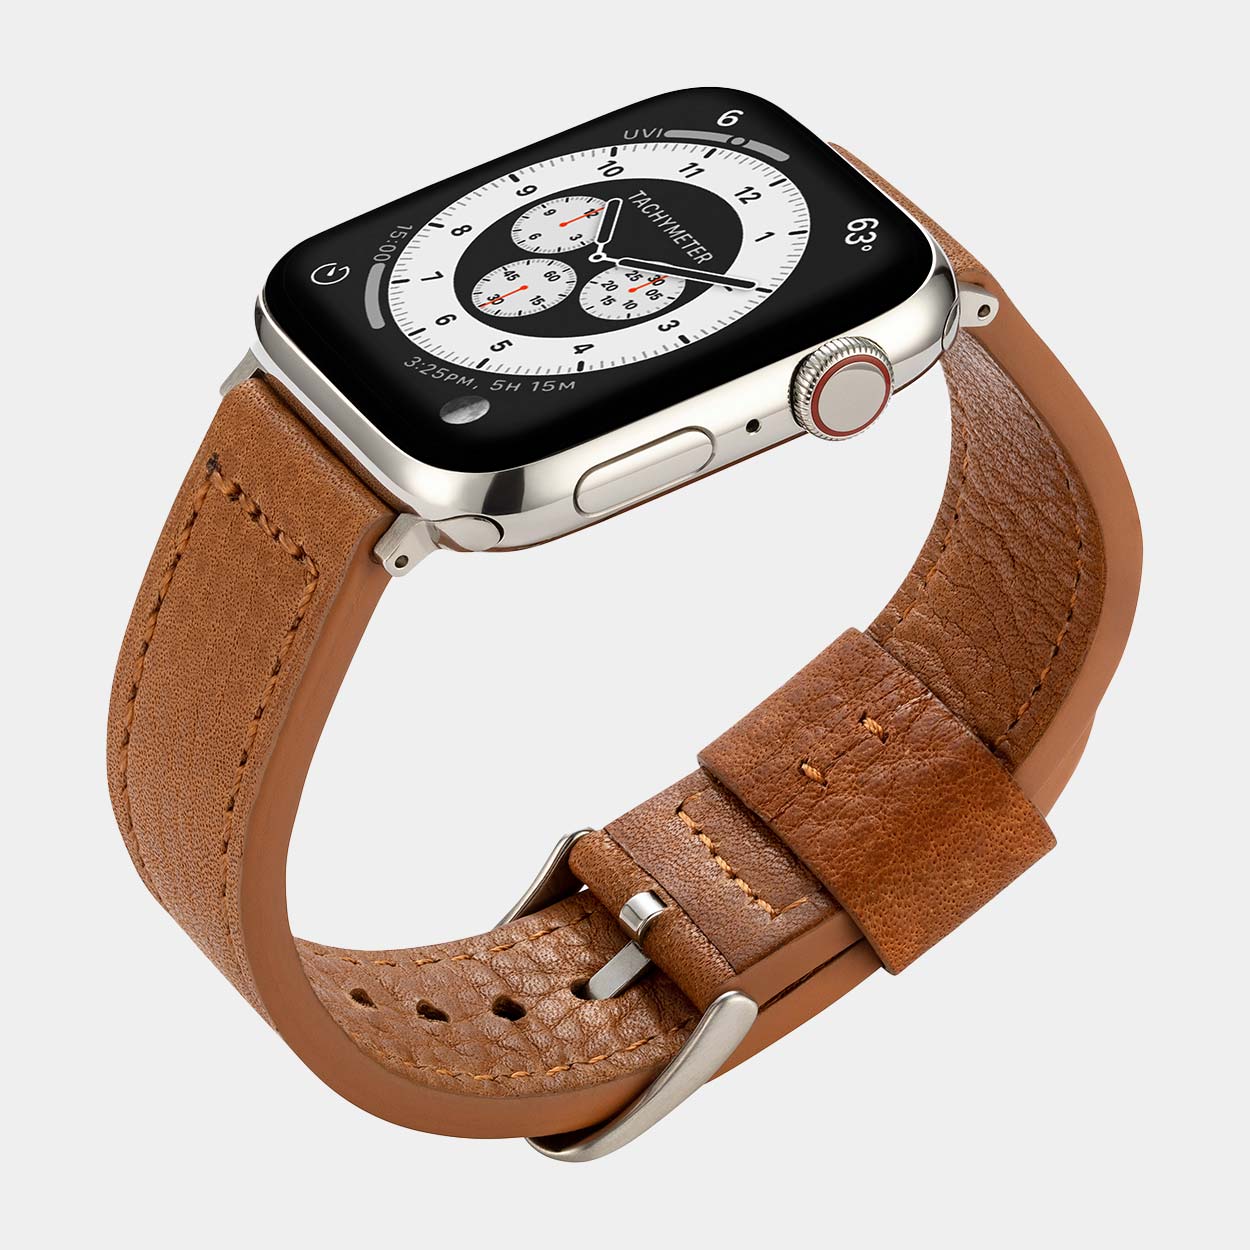
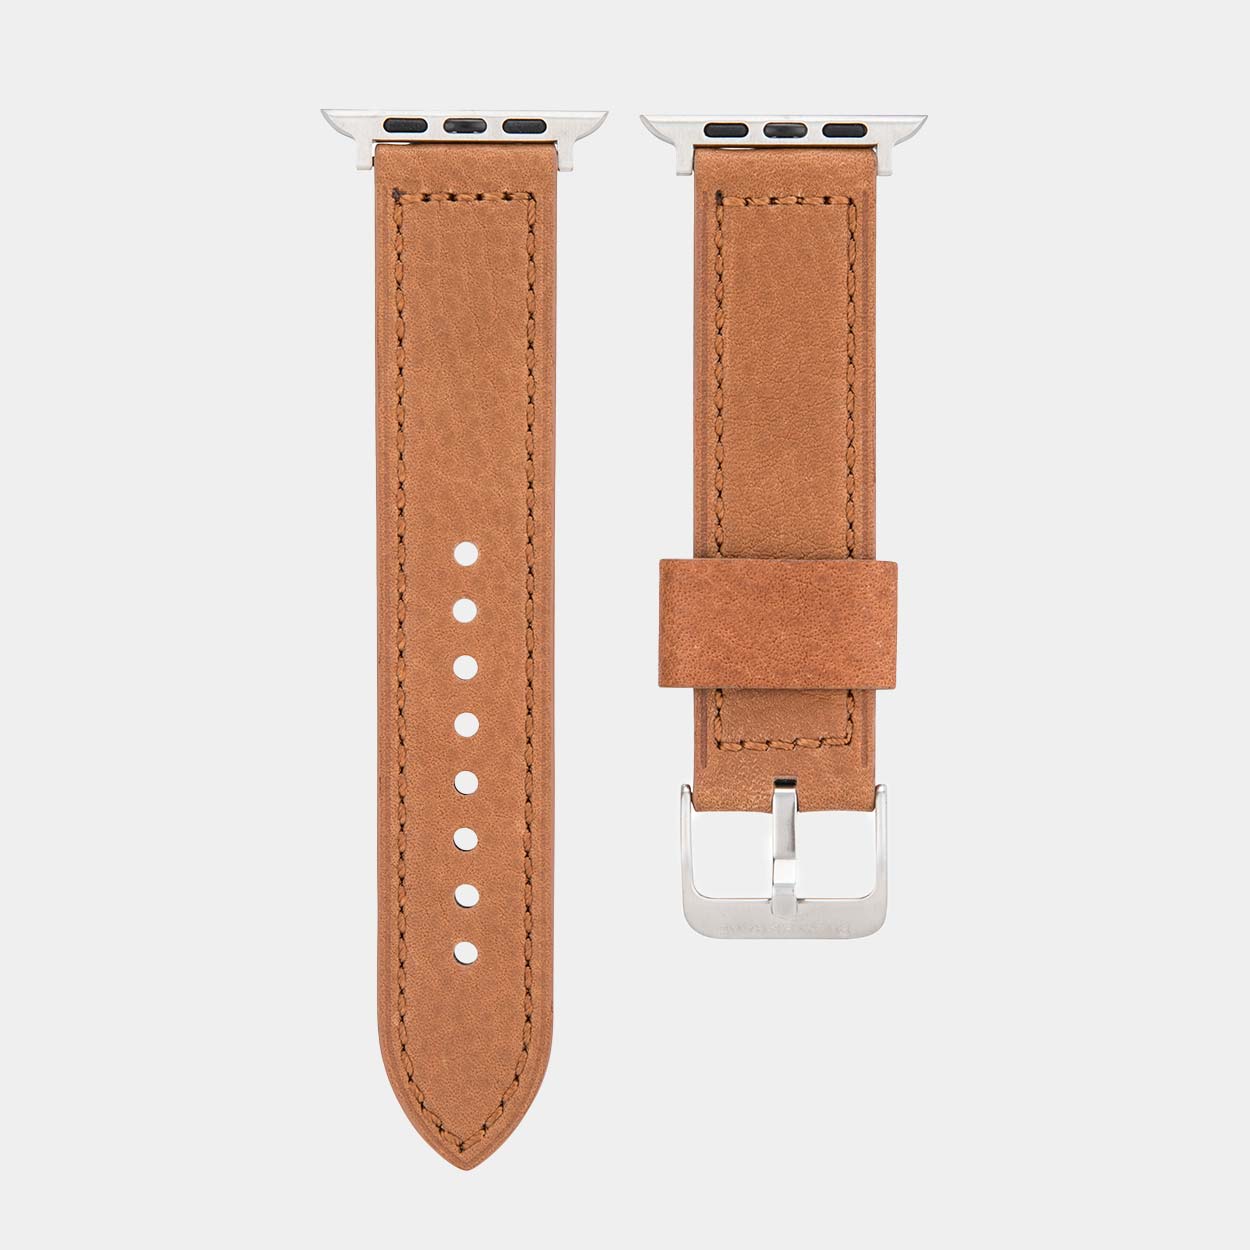
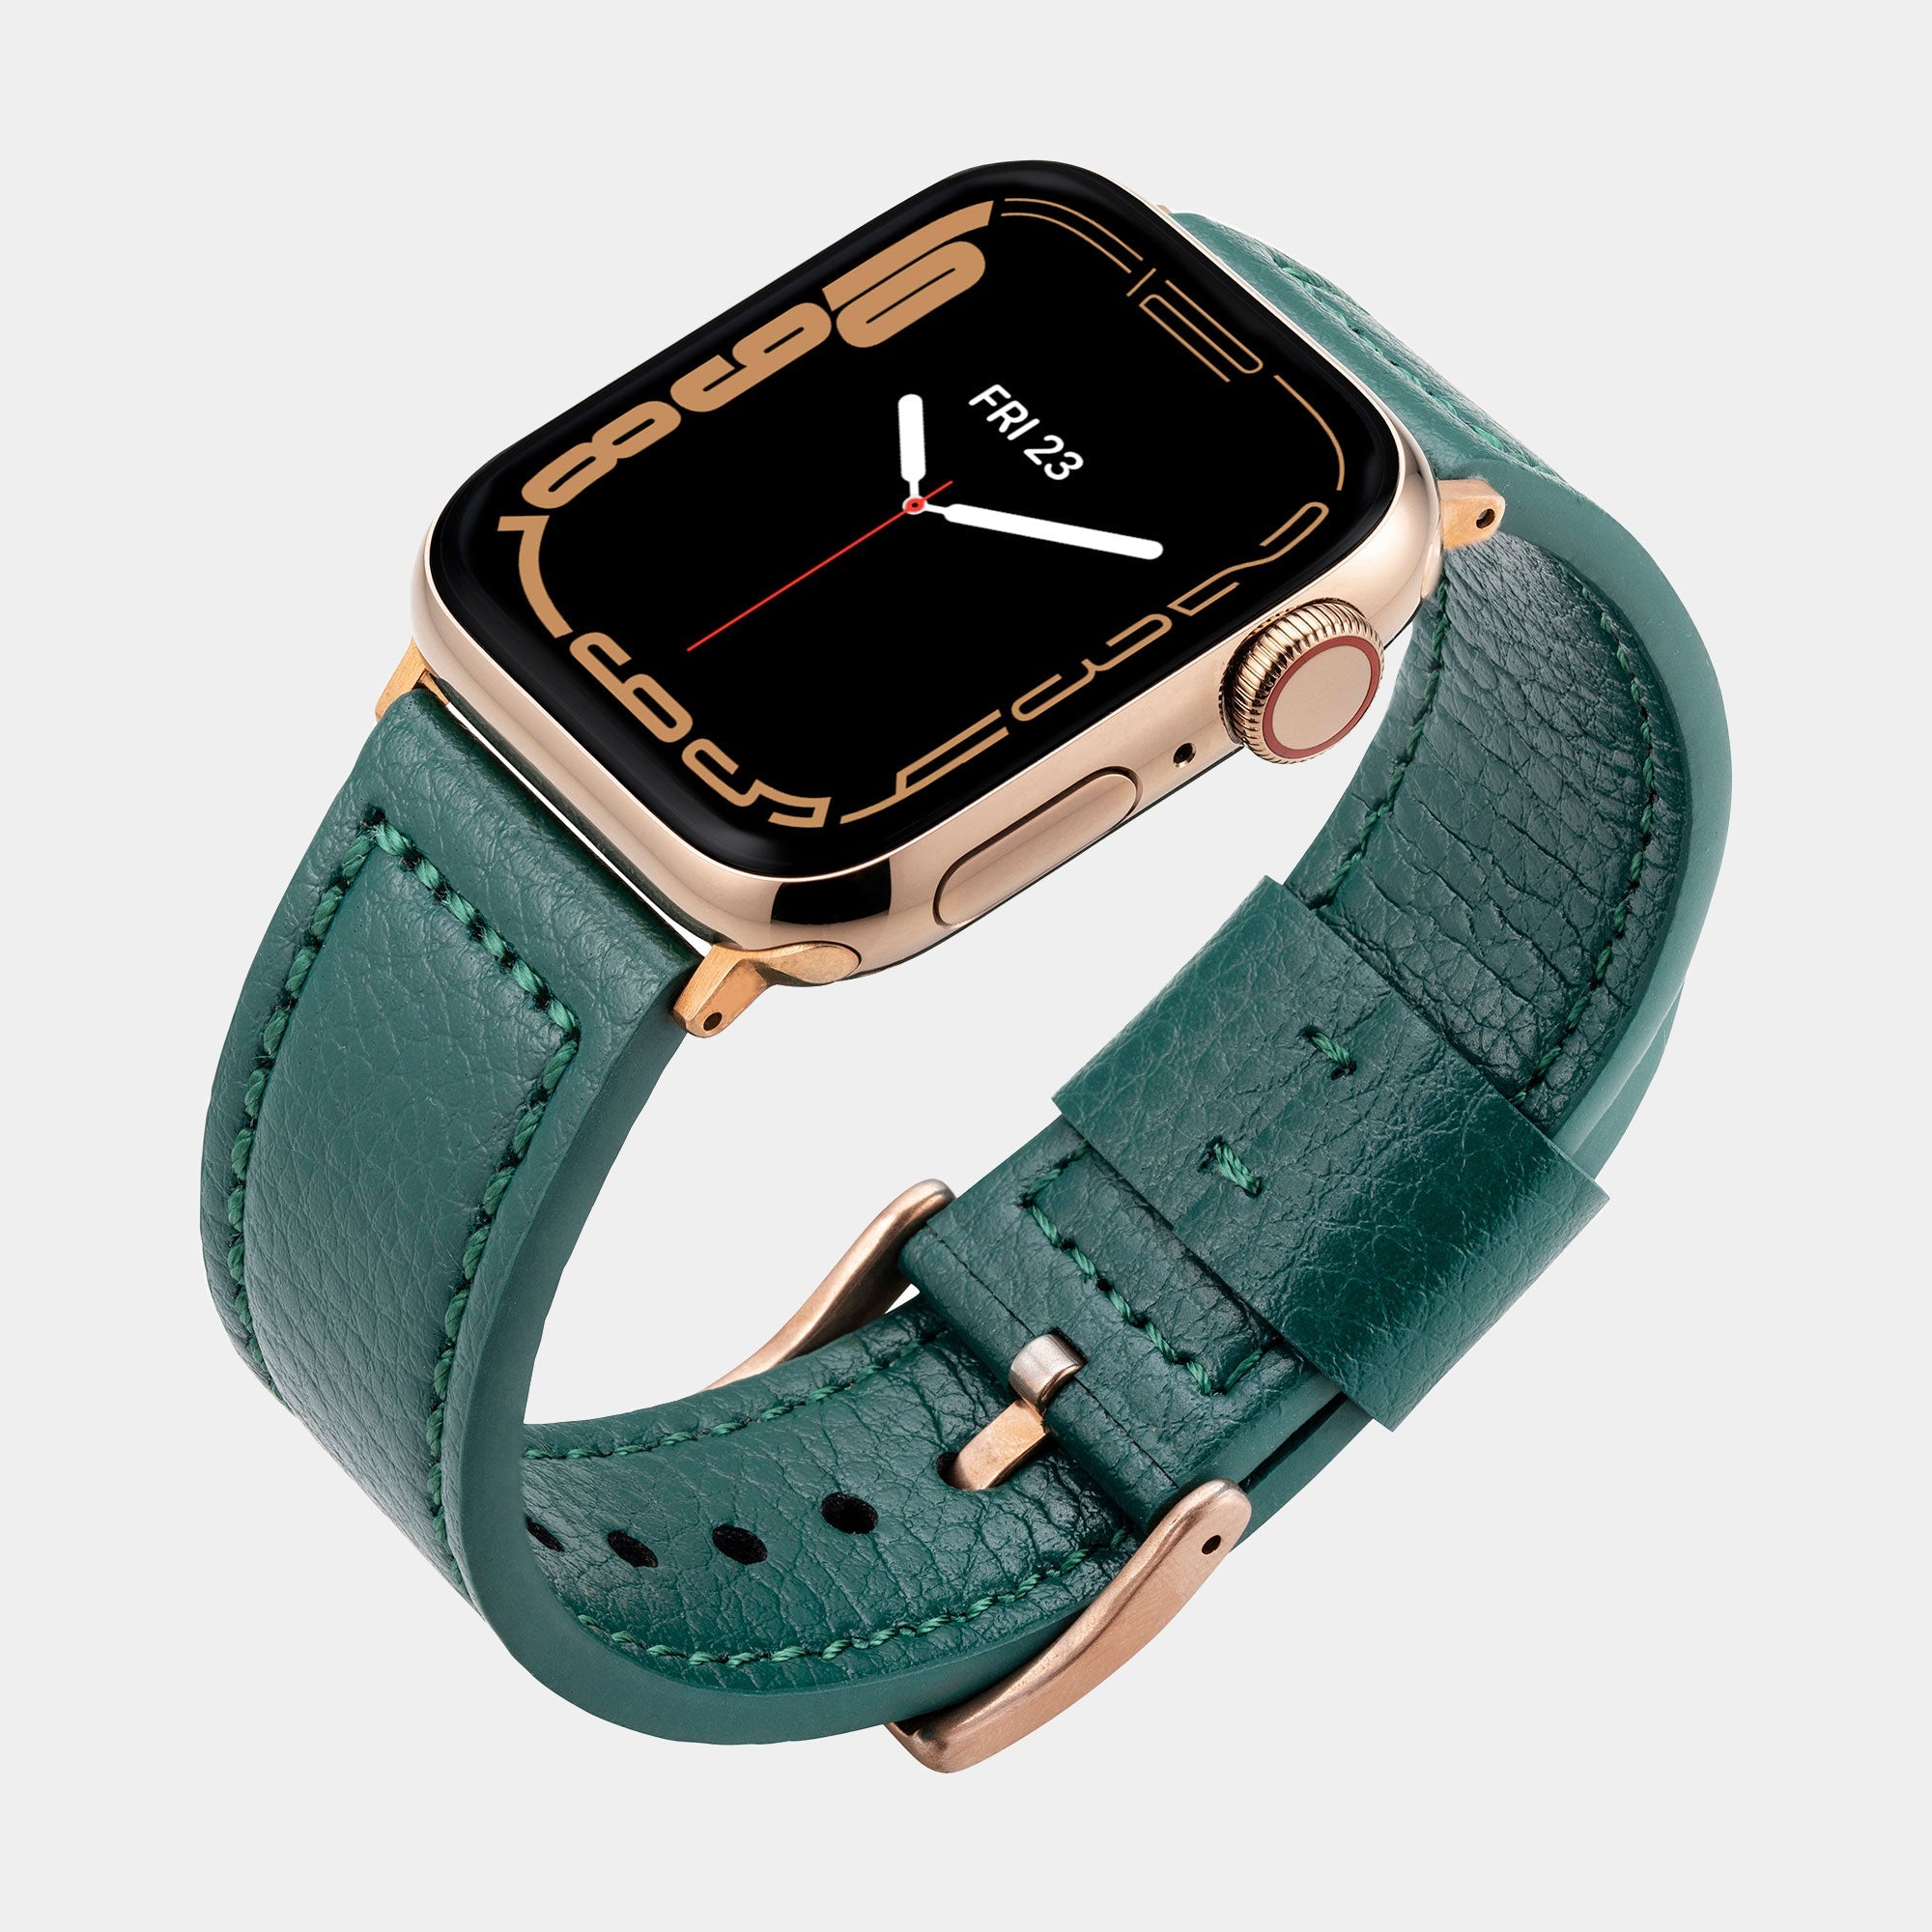
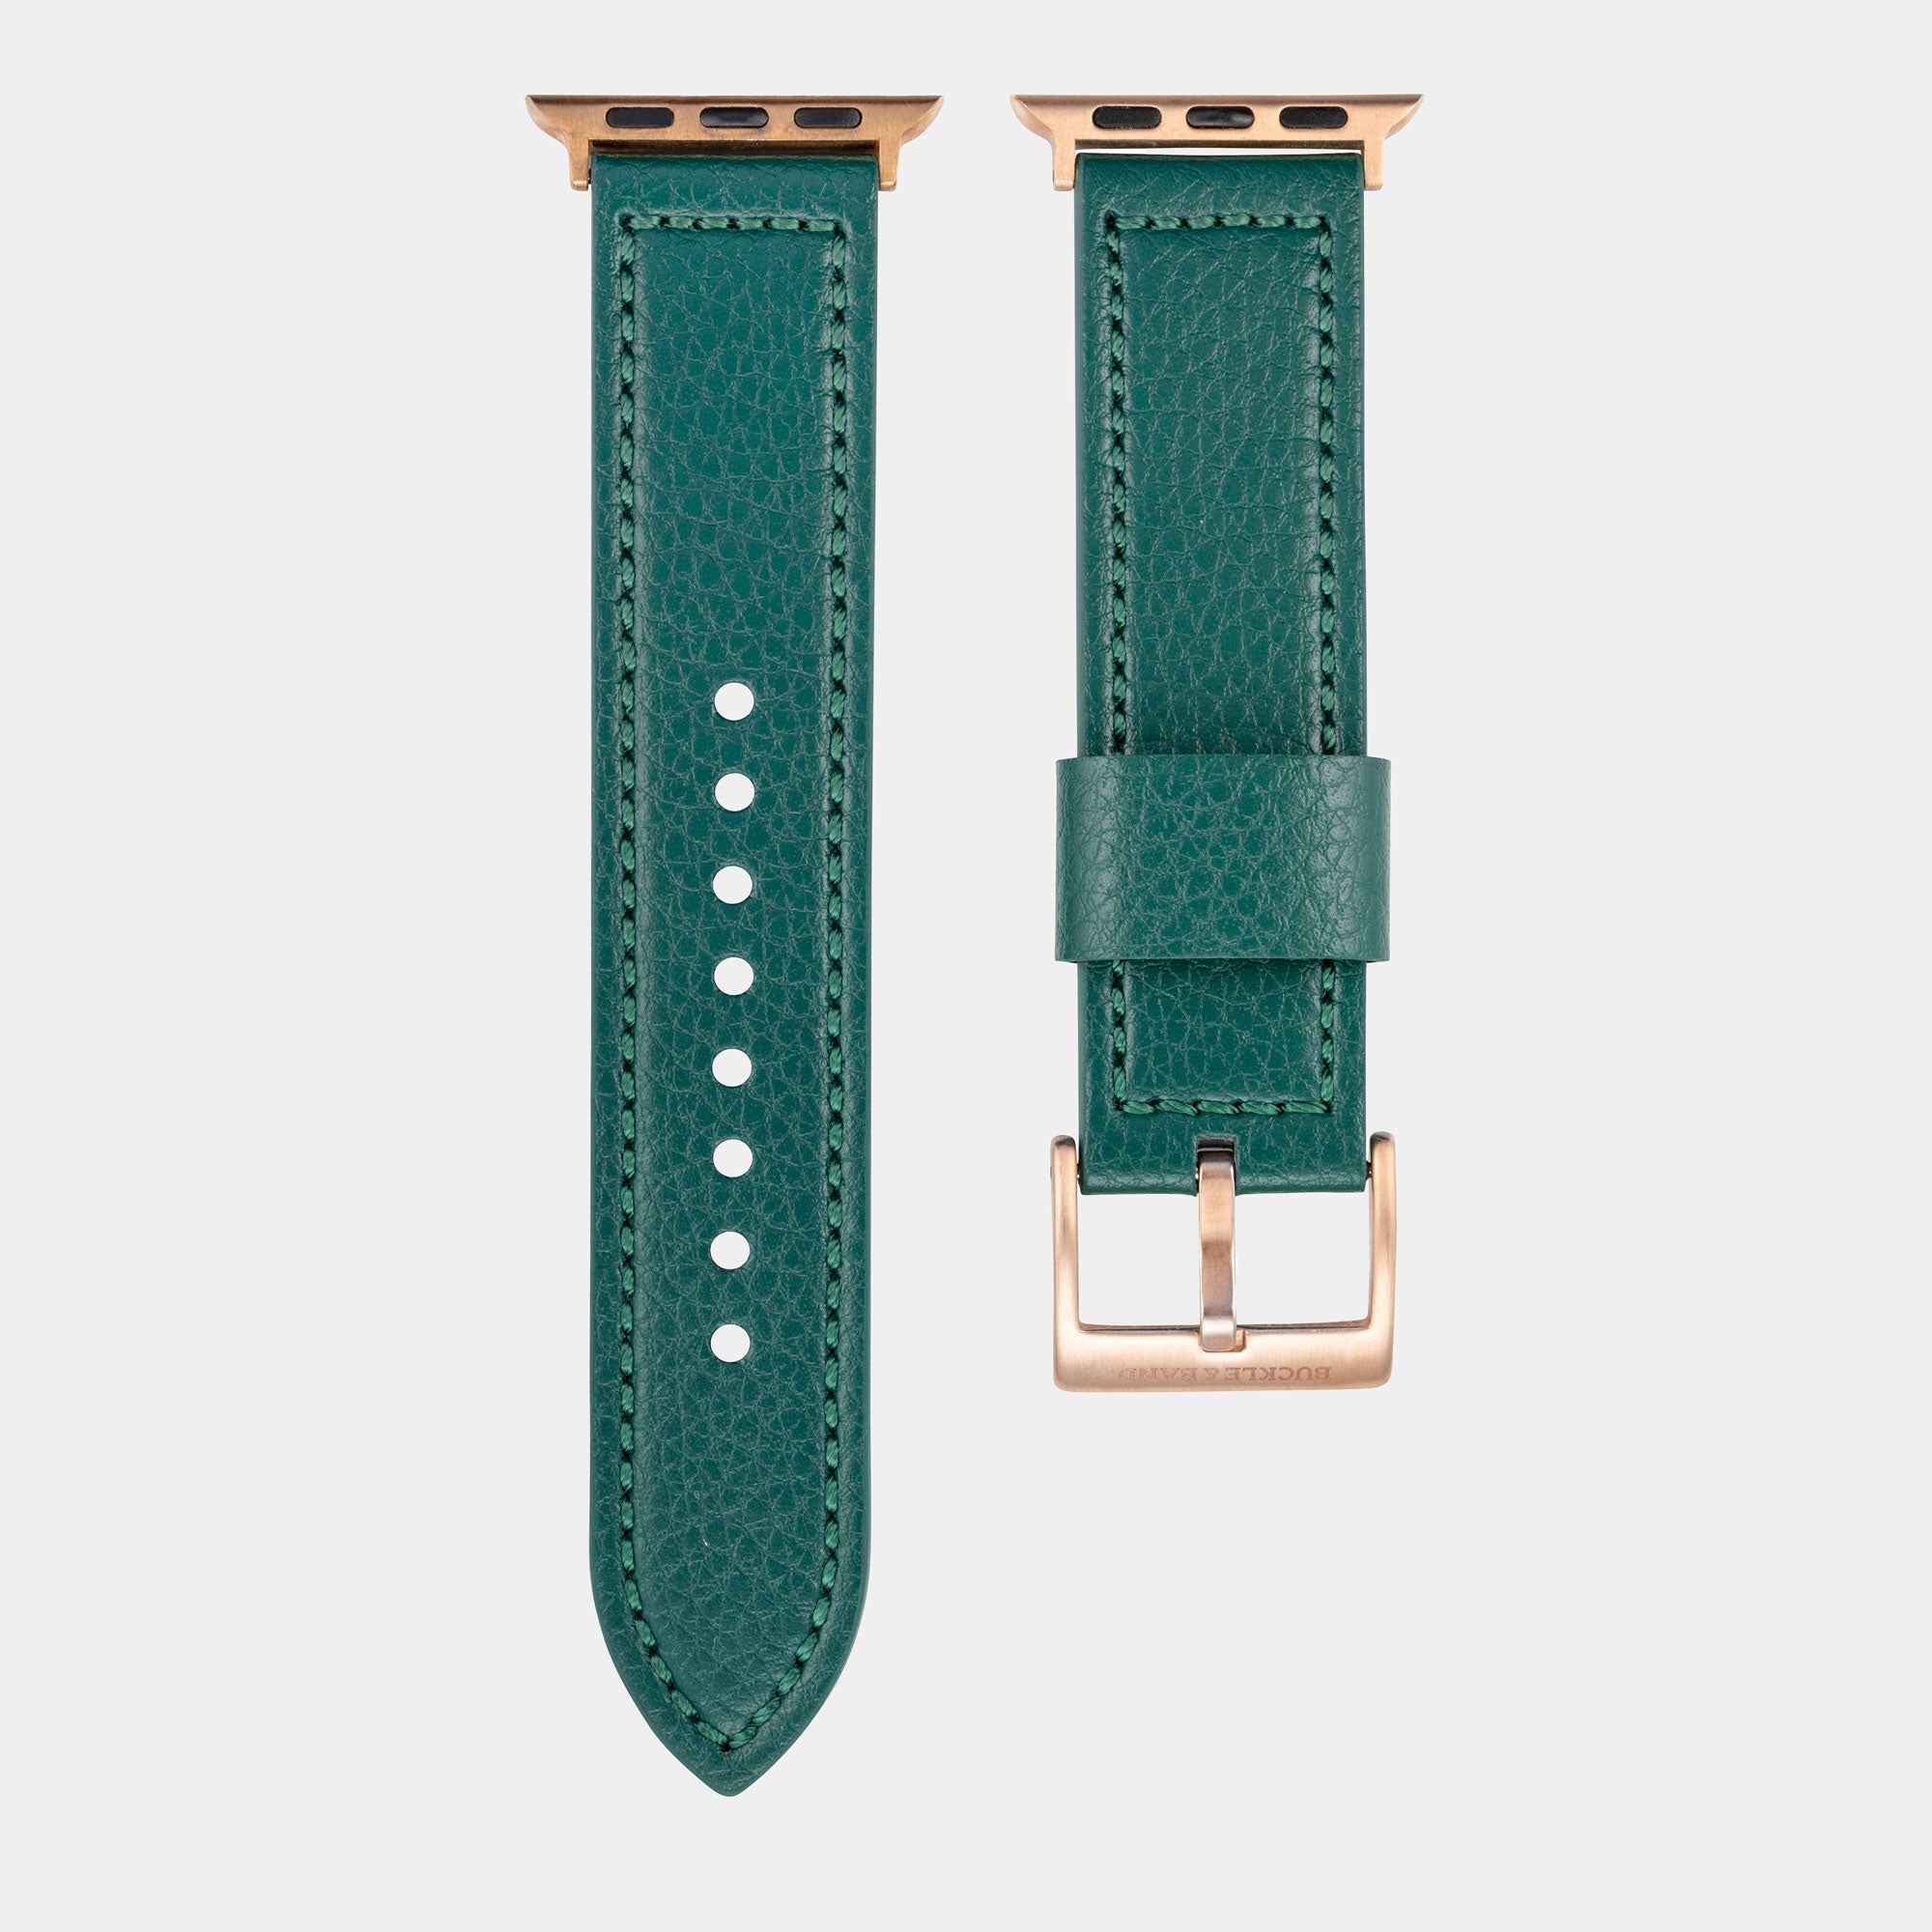
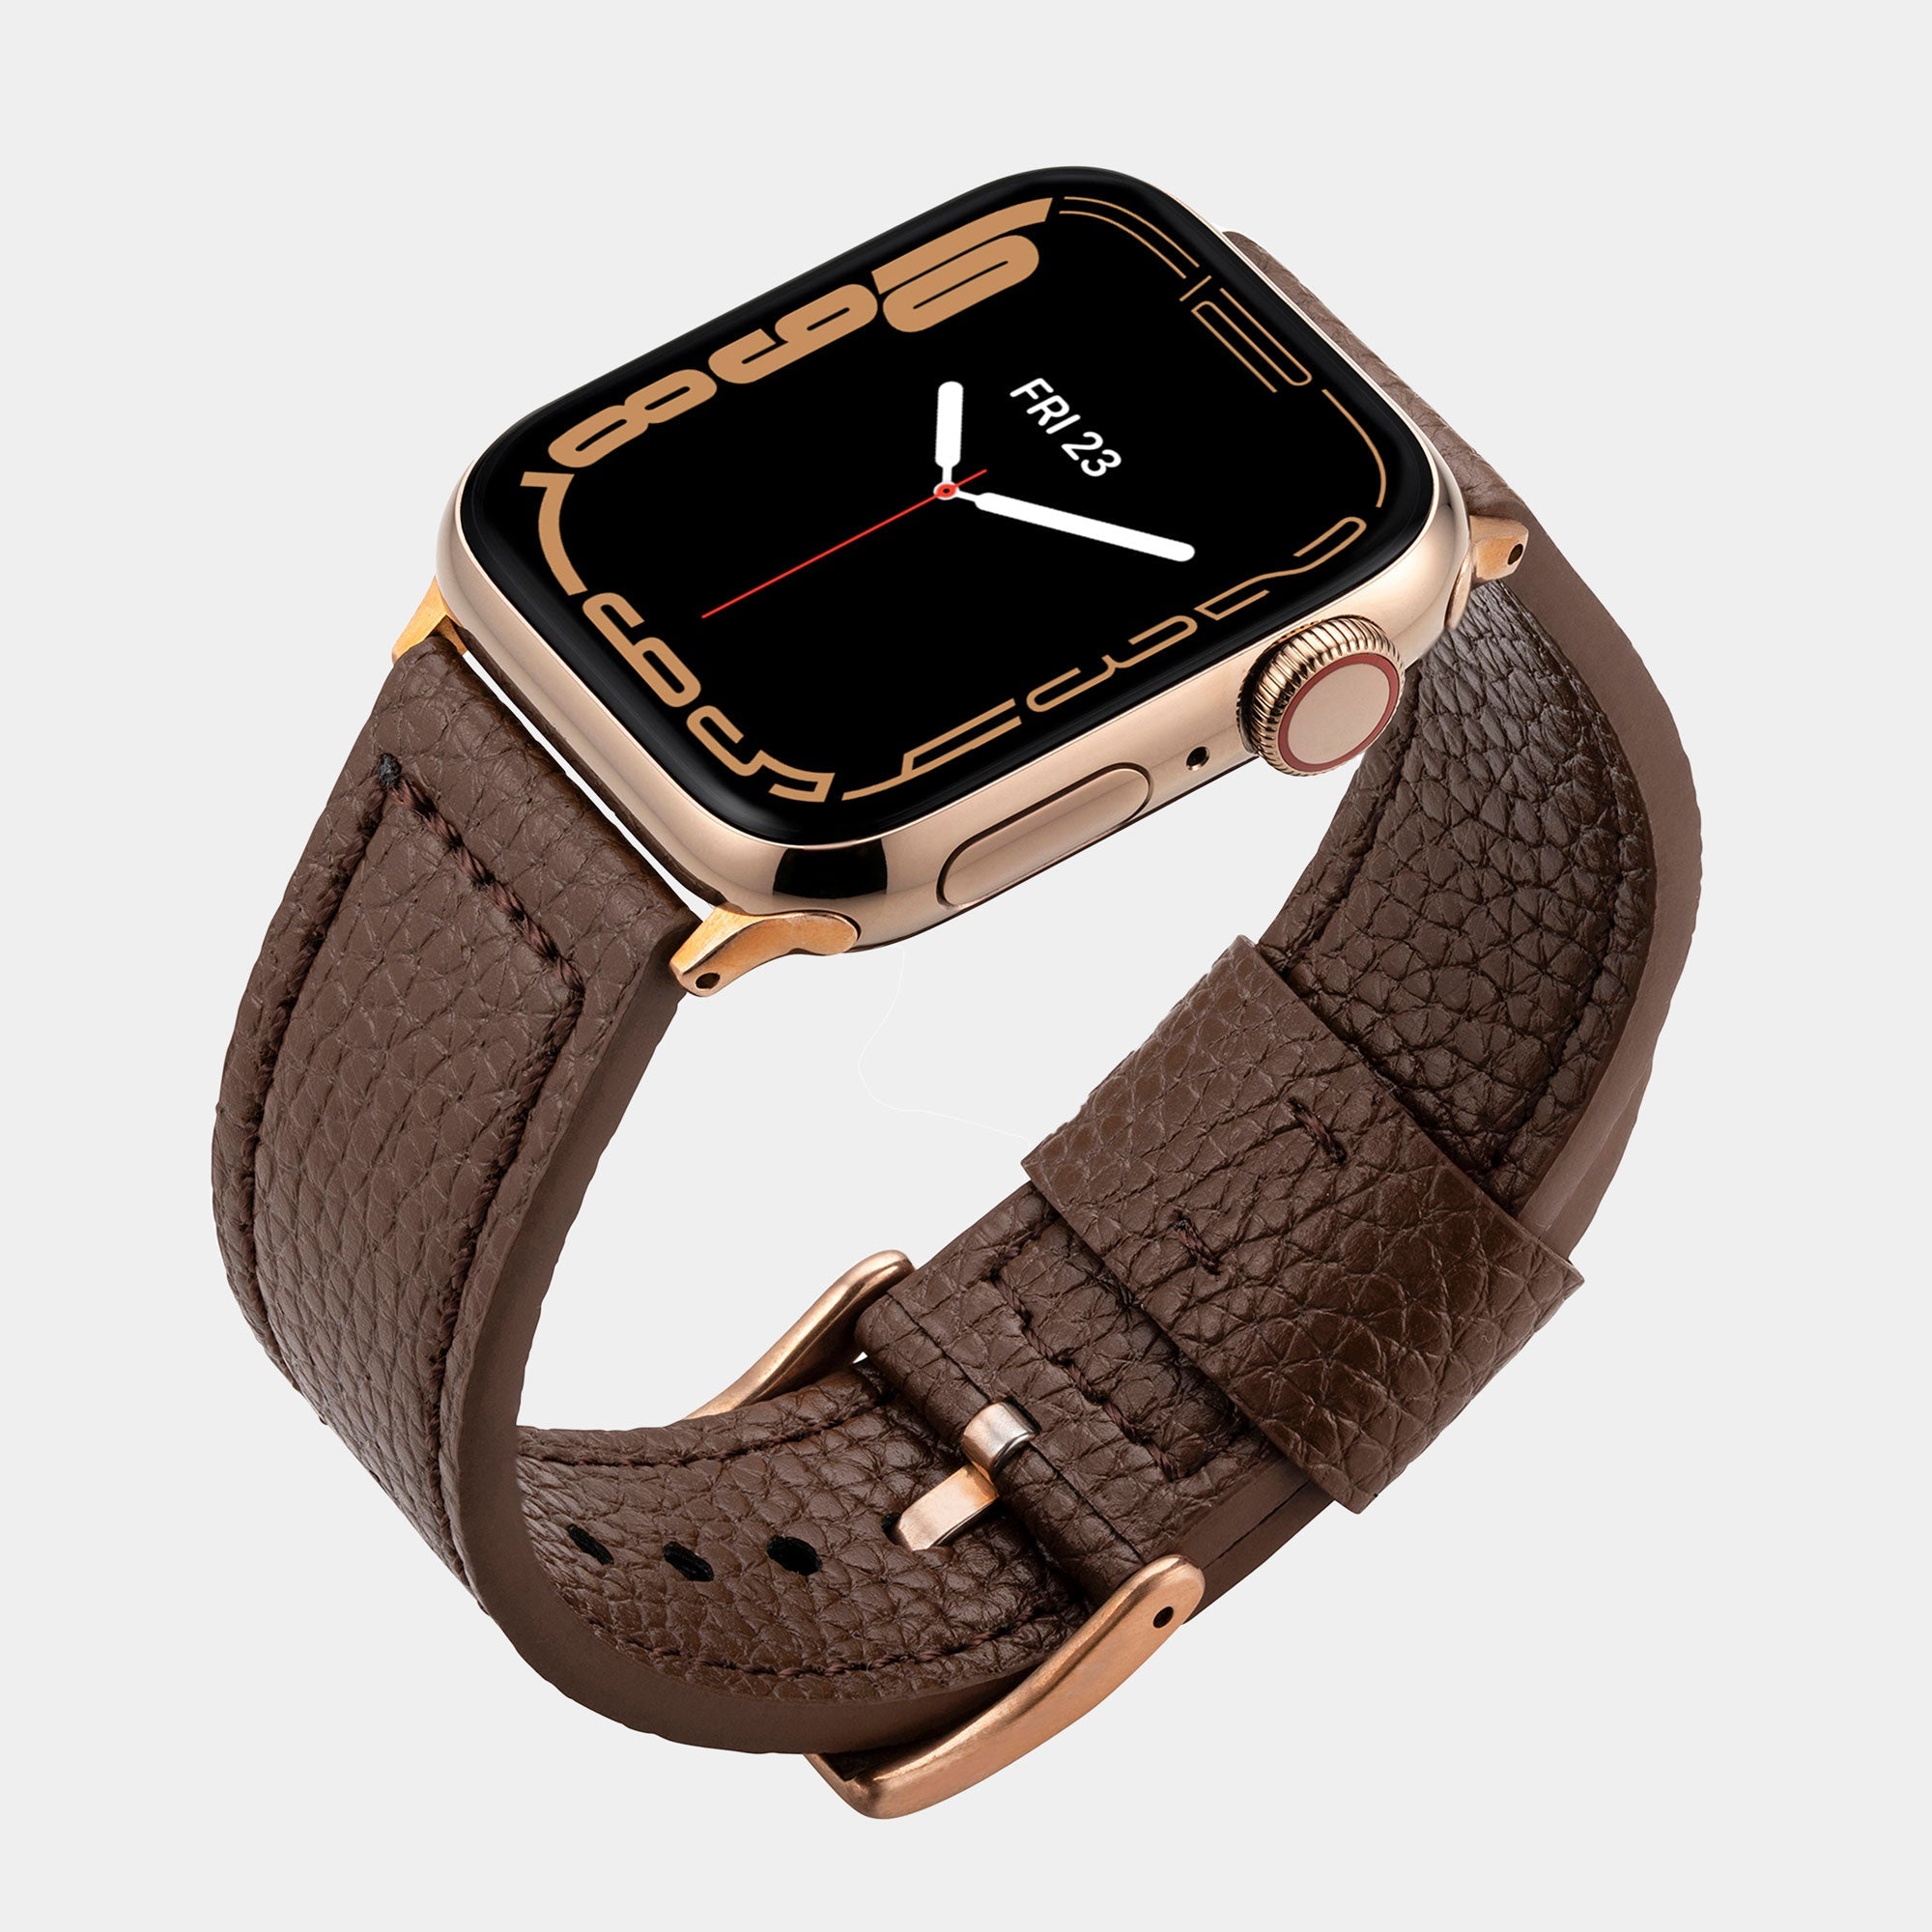
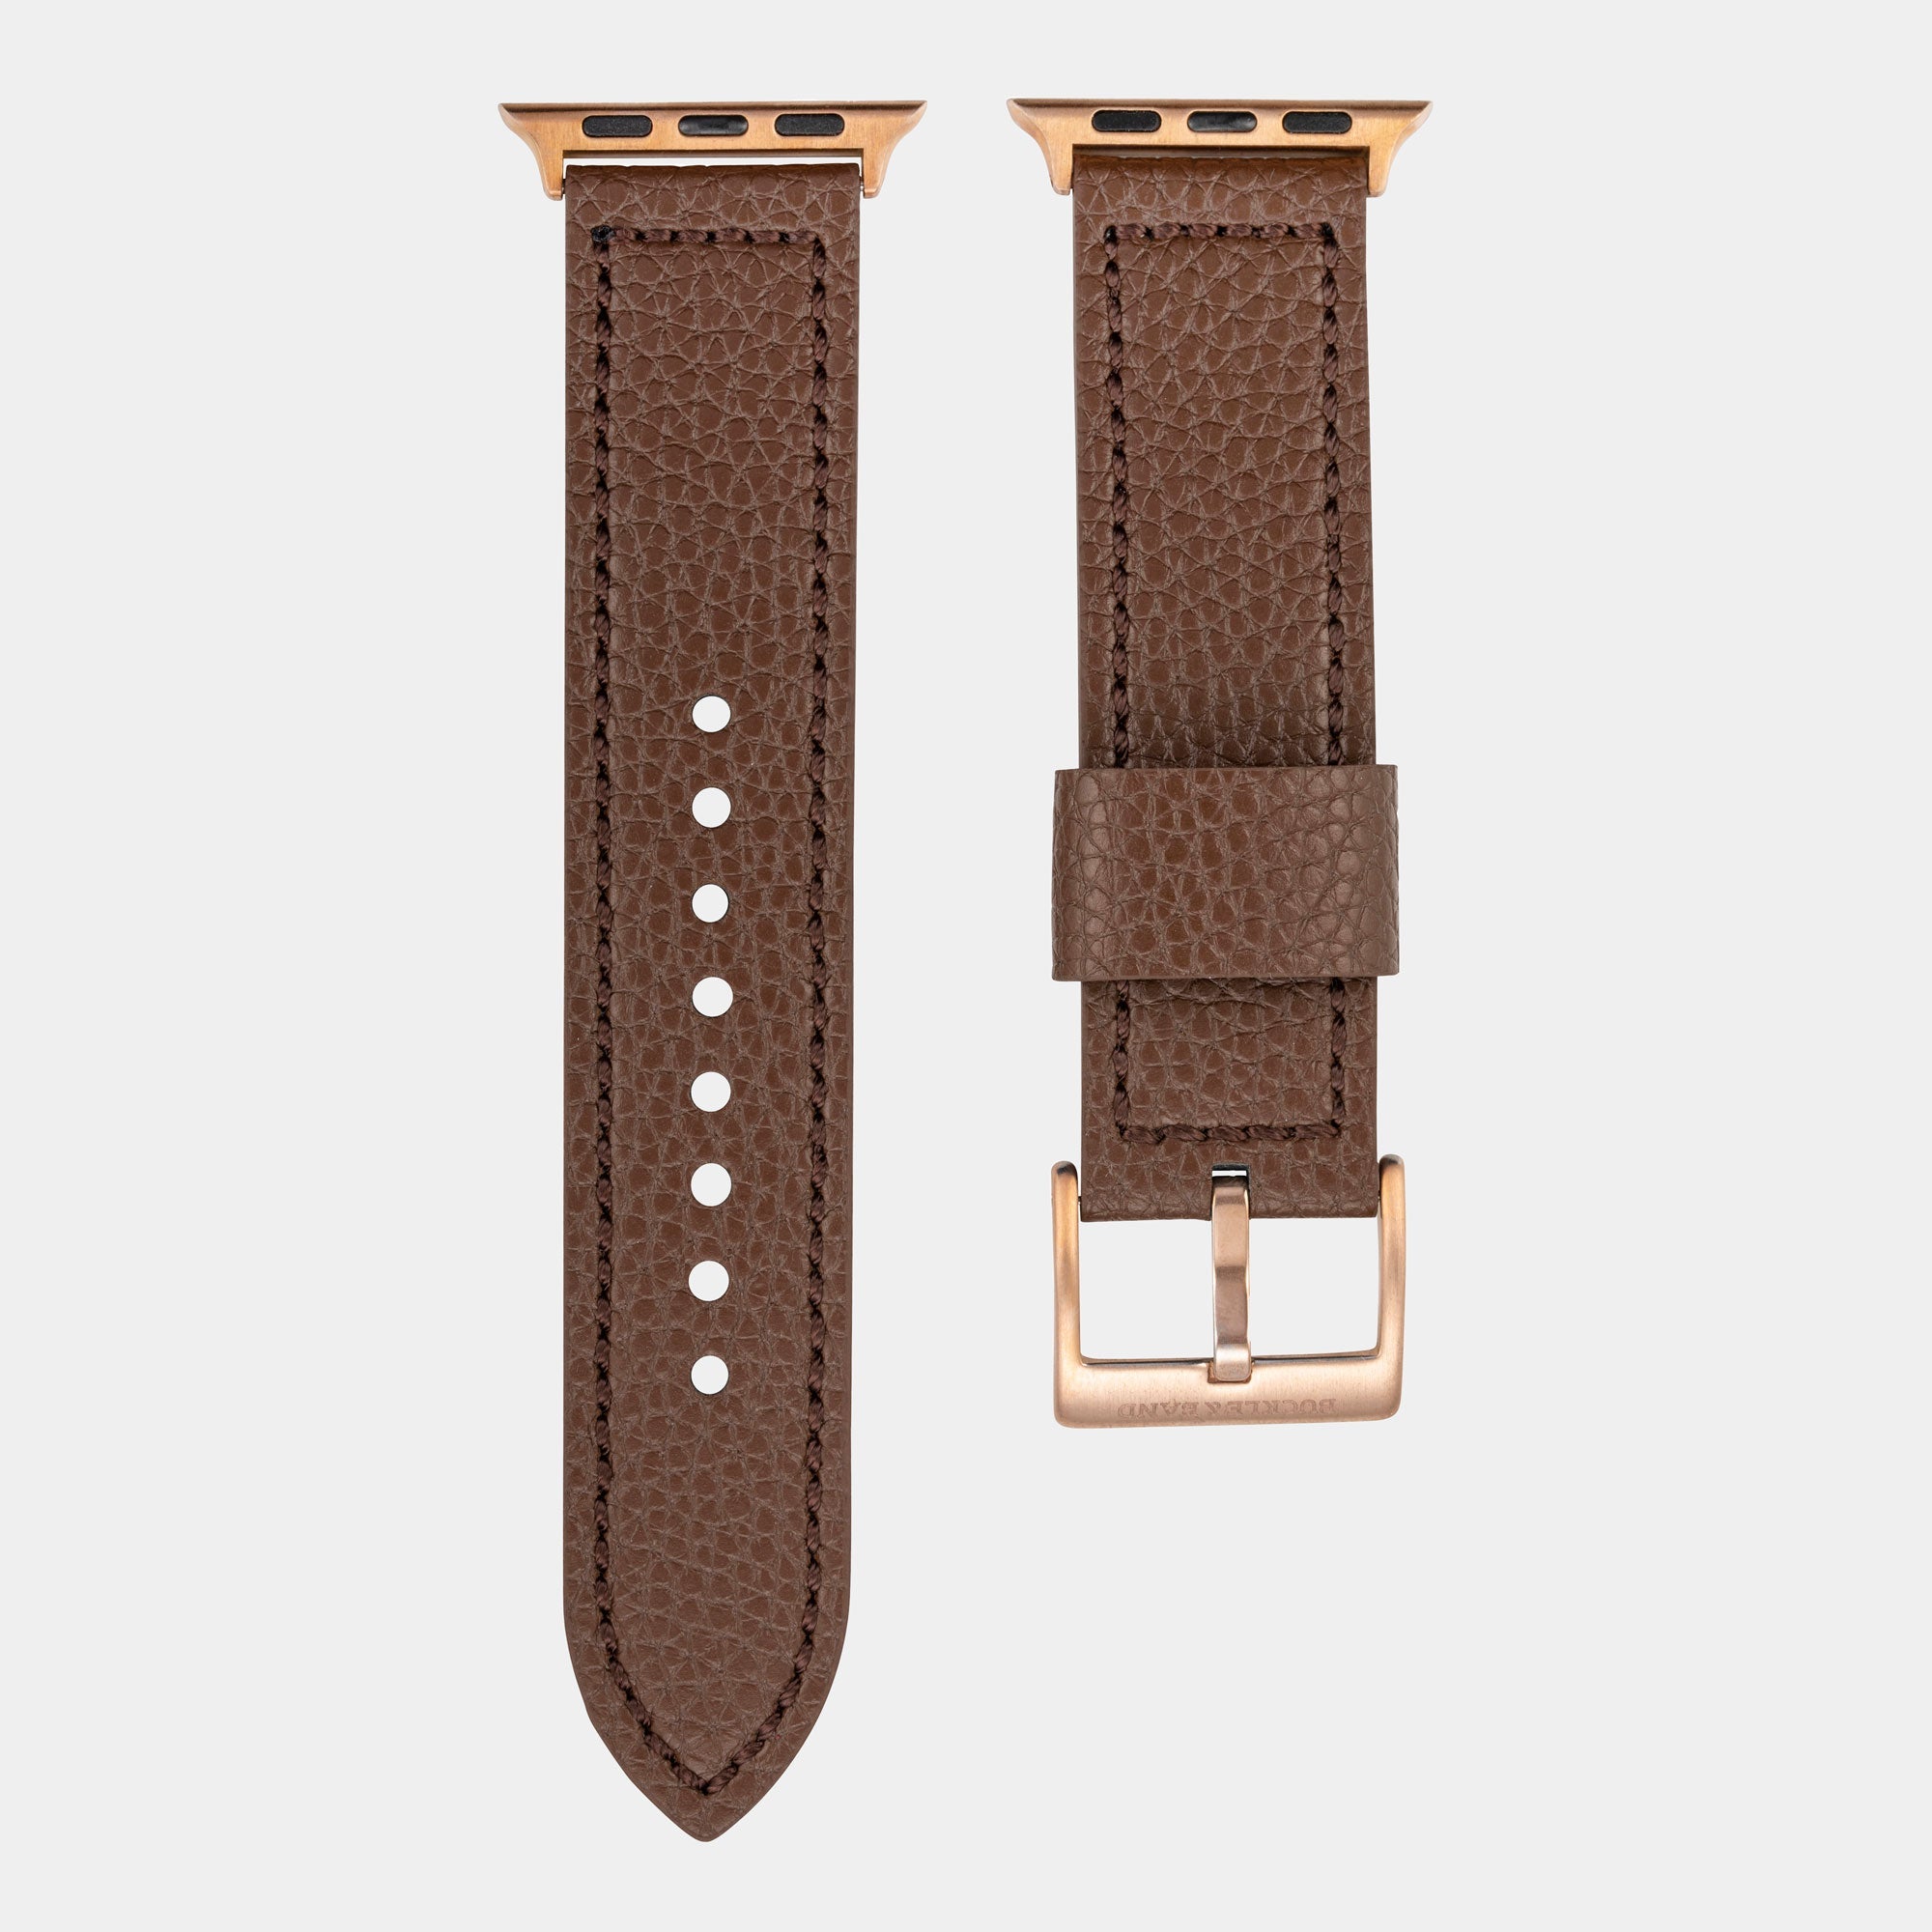
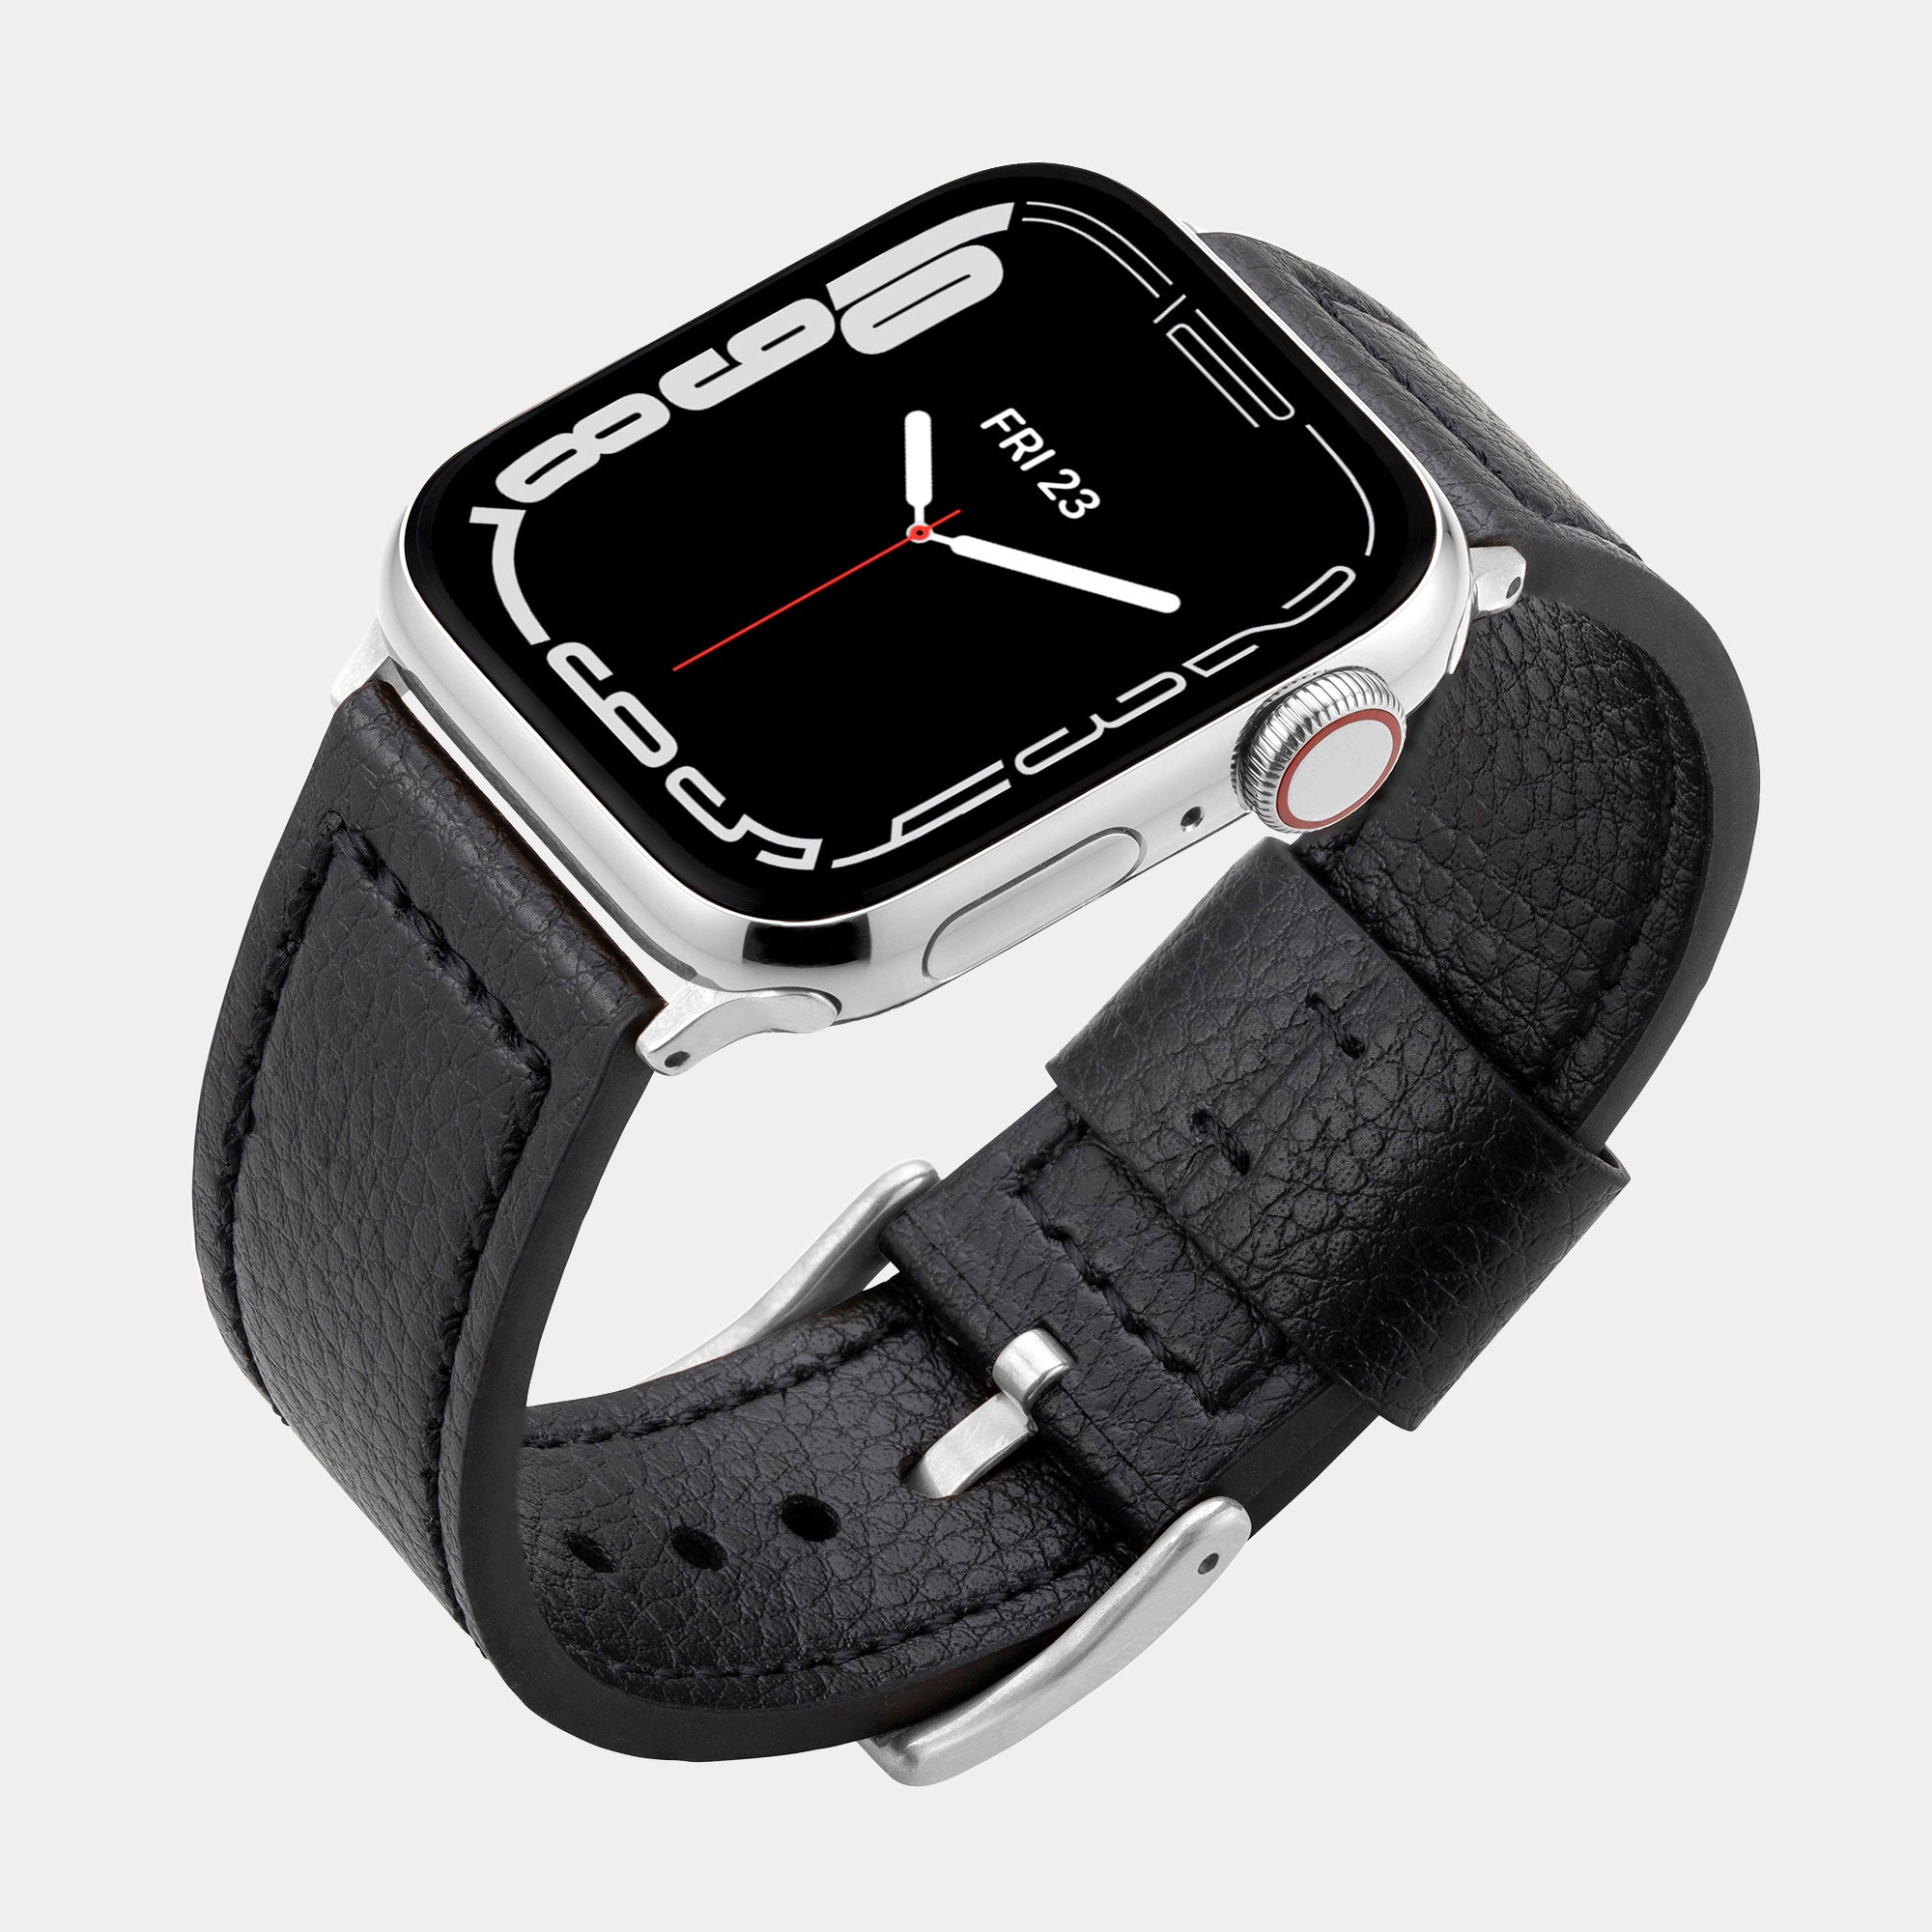
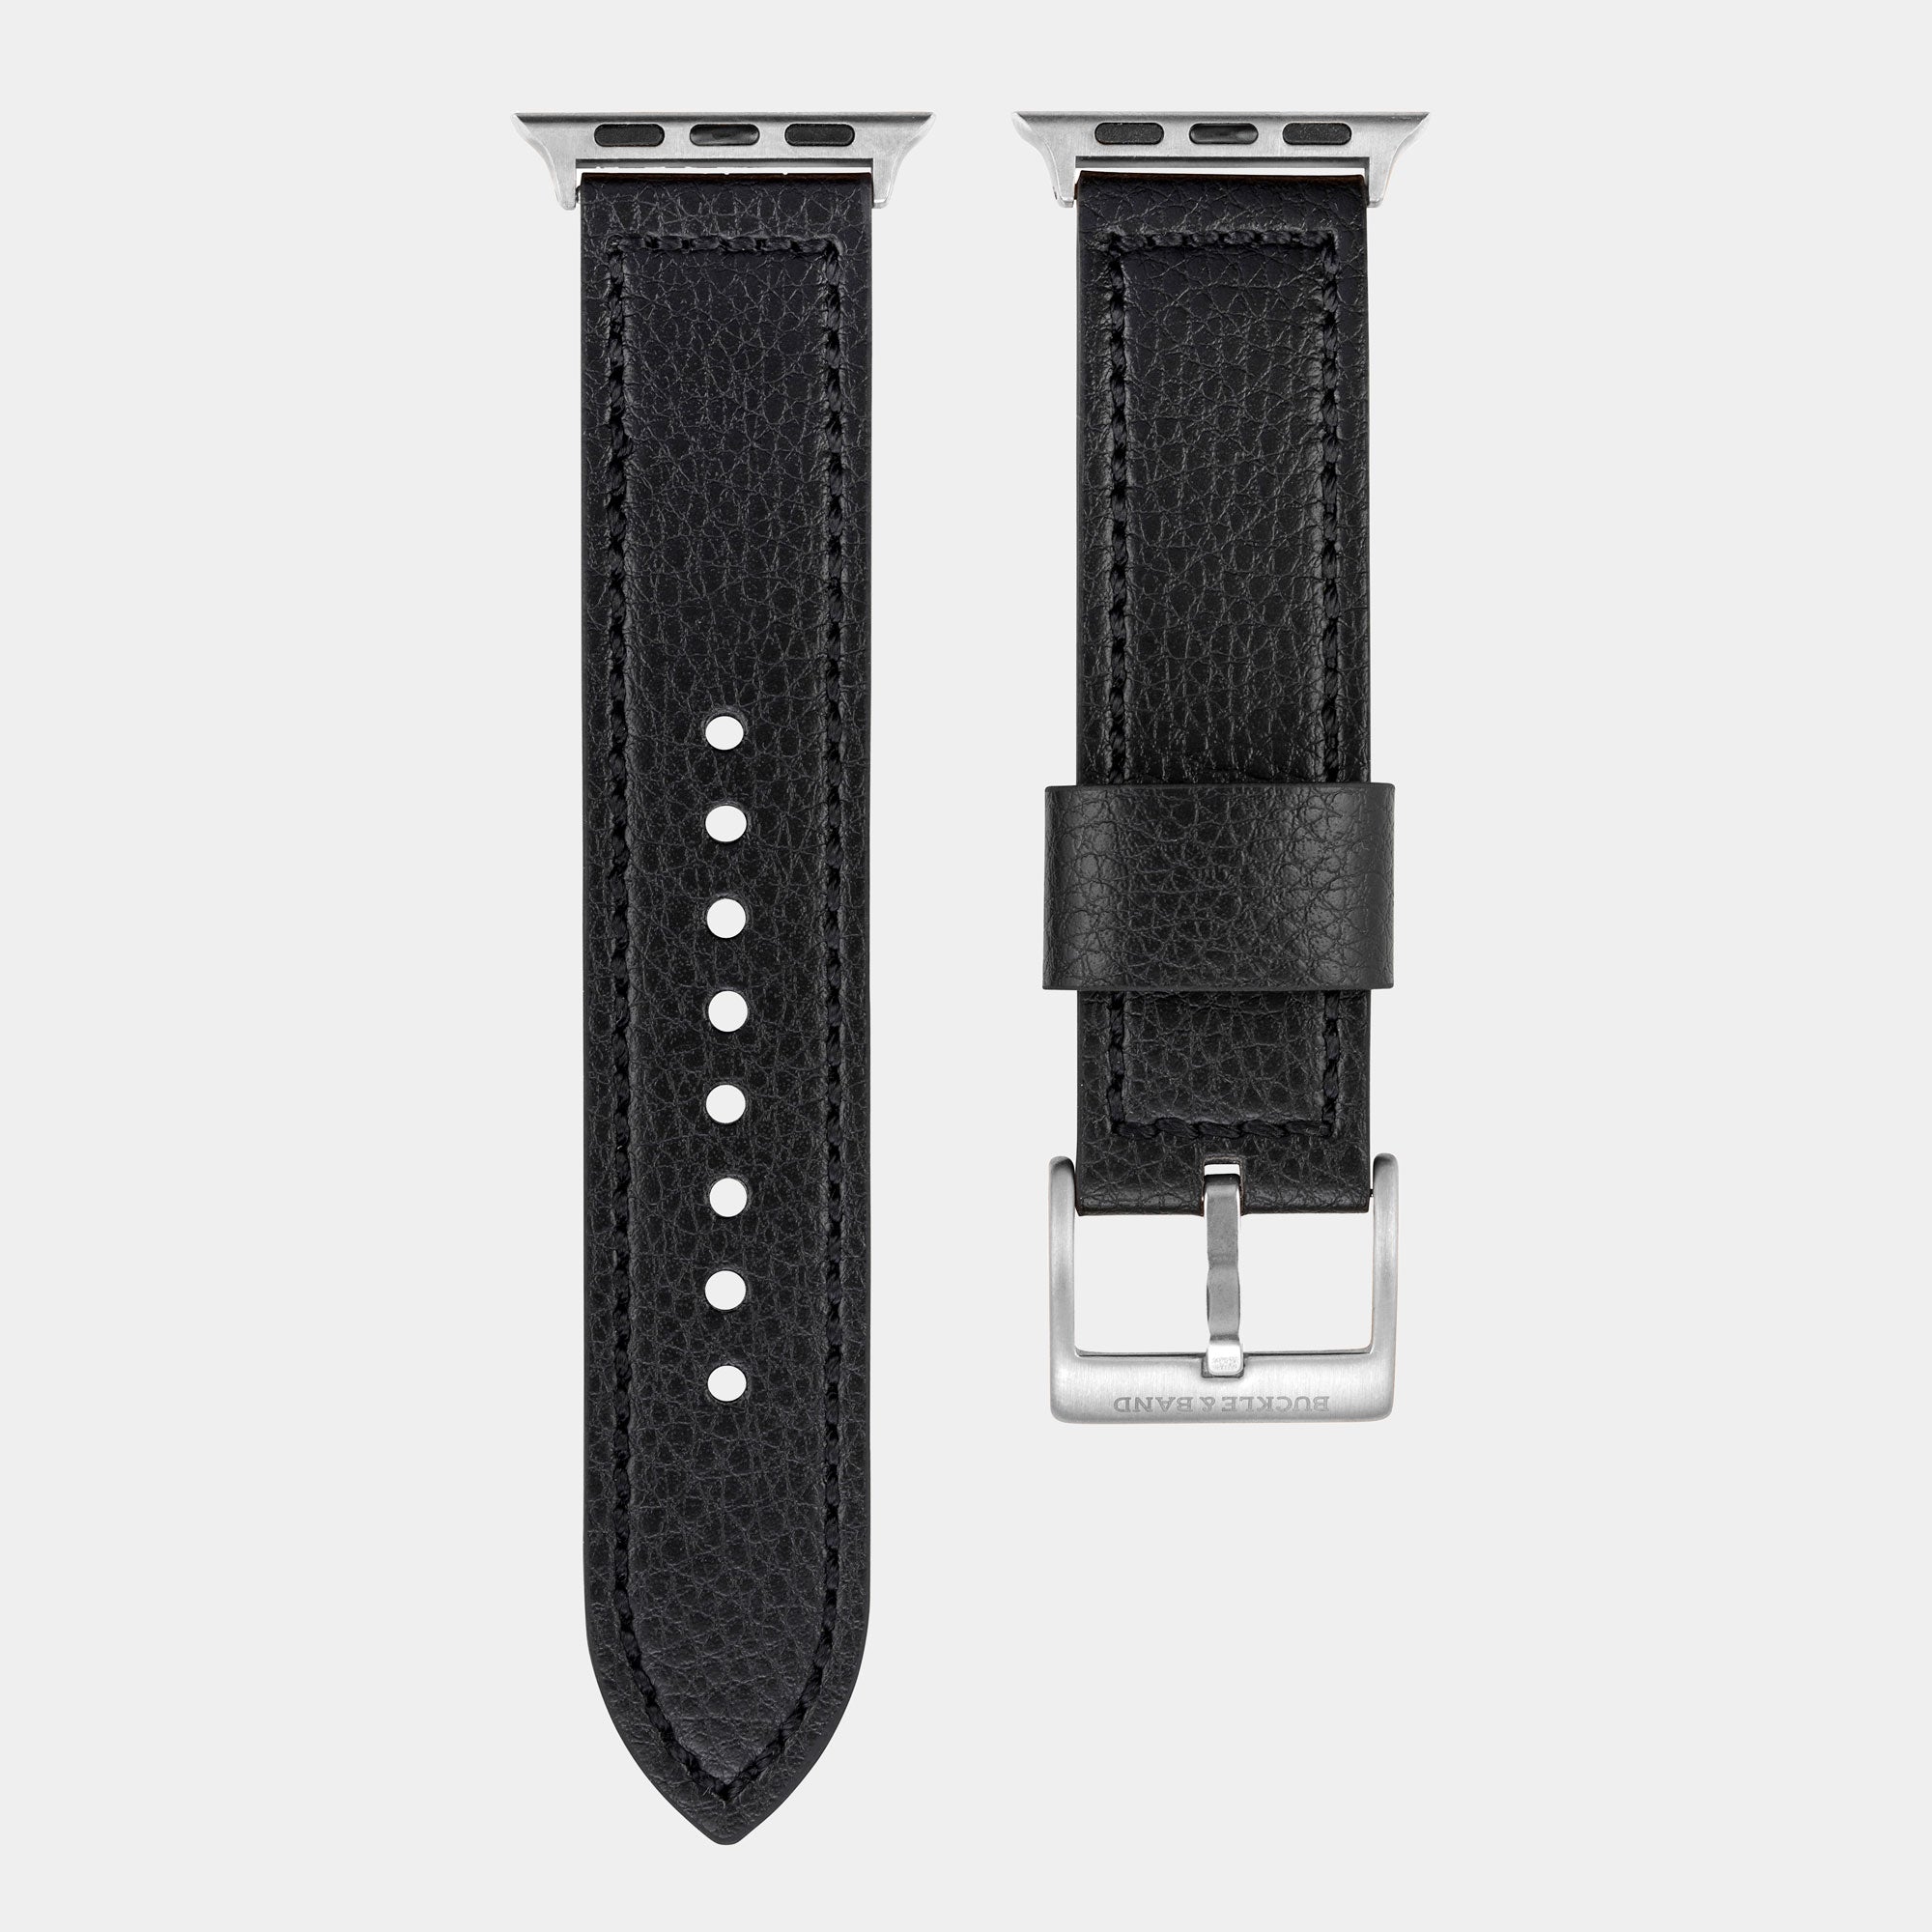
Start with having your Apple Watch and a new band from Buckle & Band at hand. (or any other Apple Watch straps)
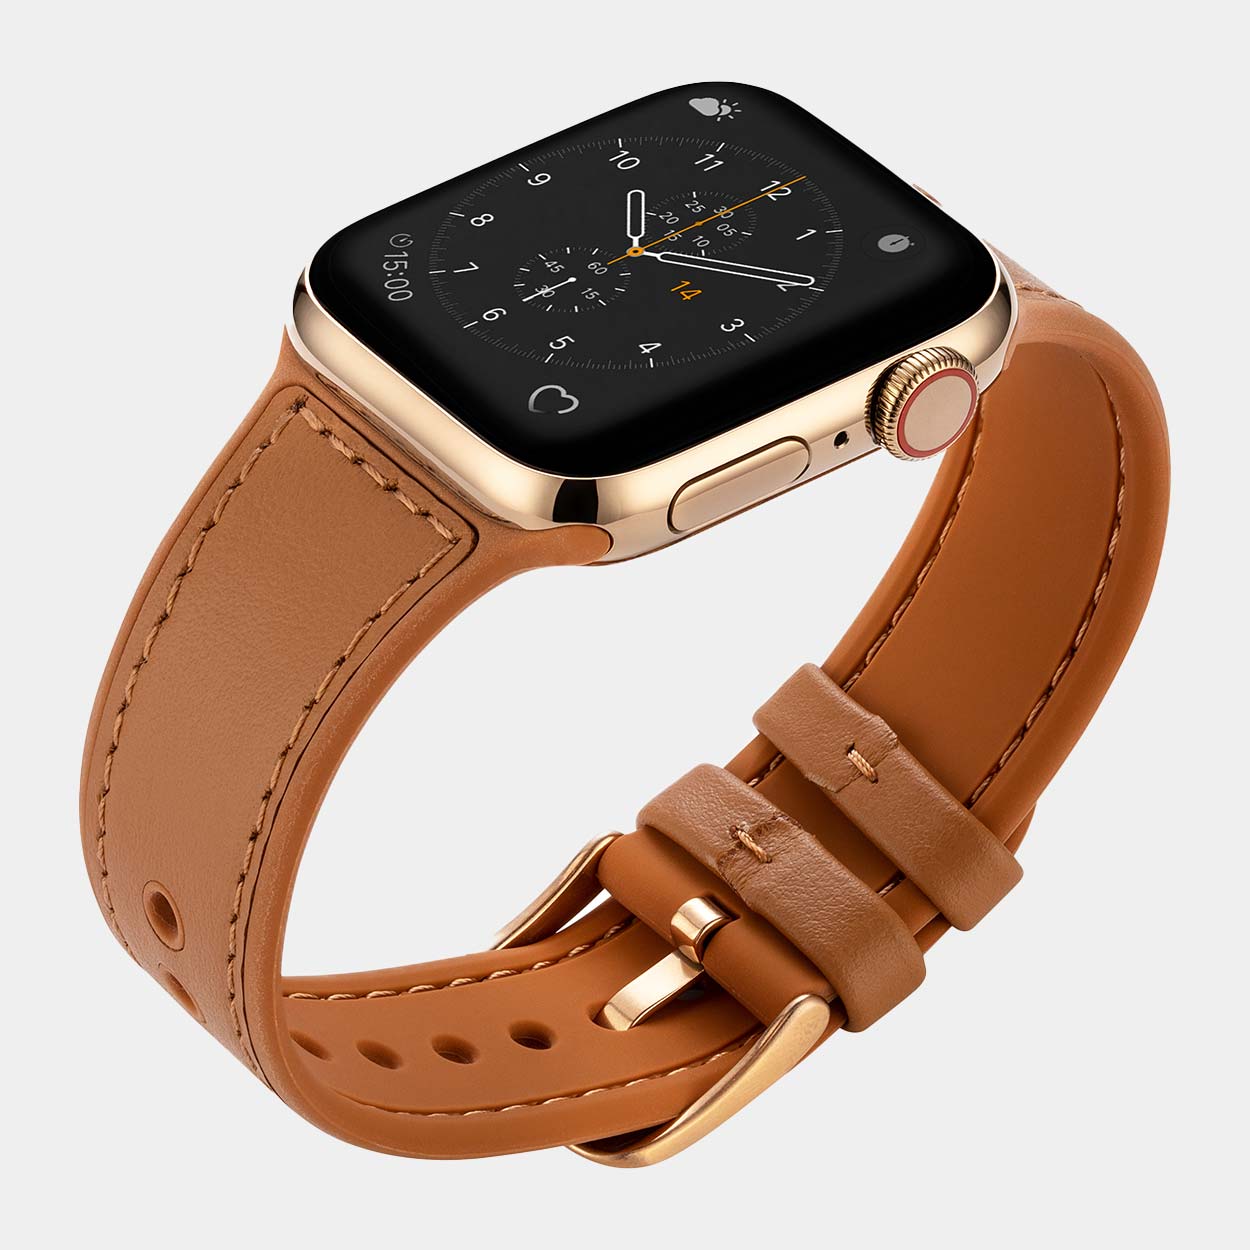
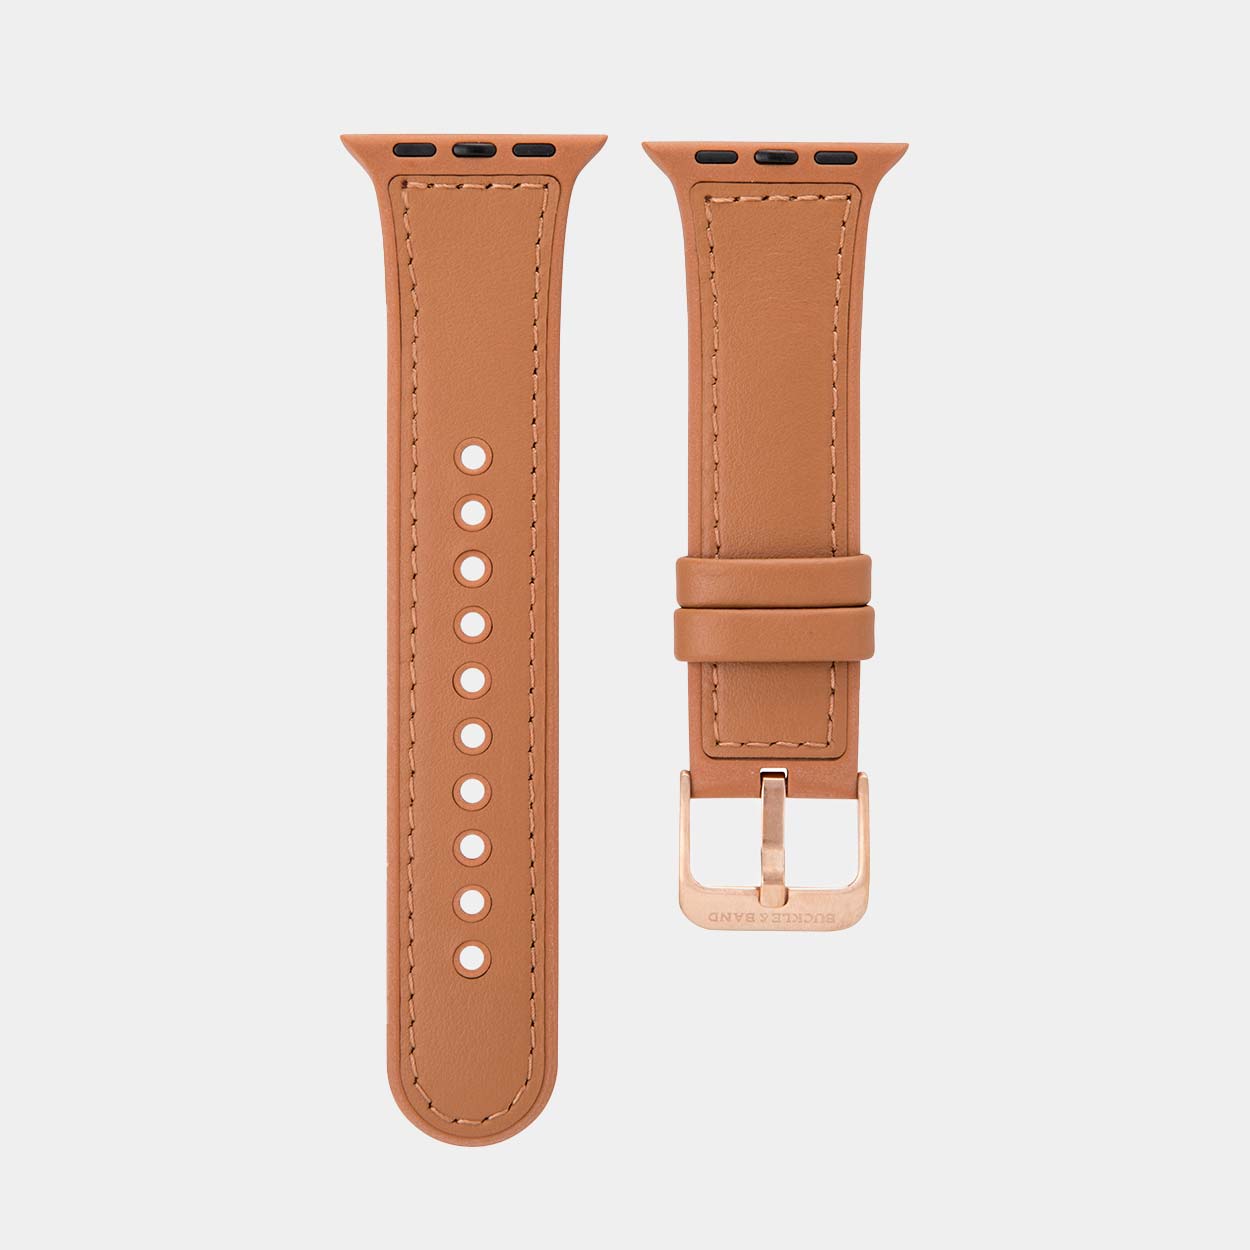
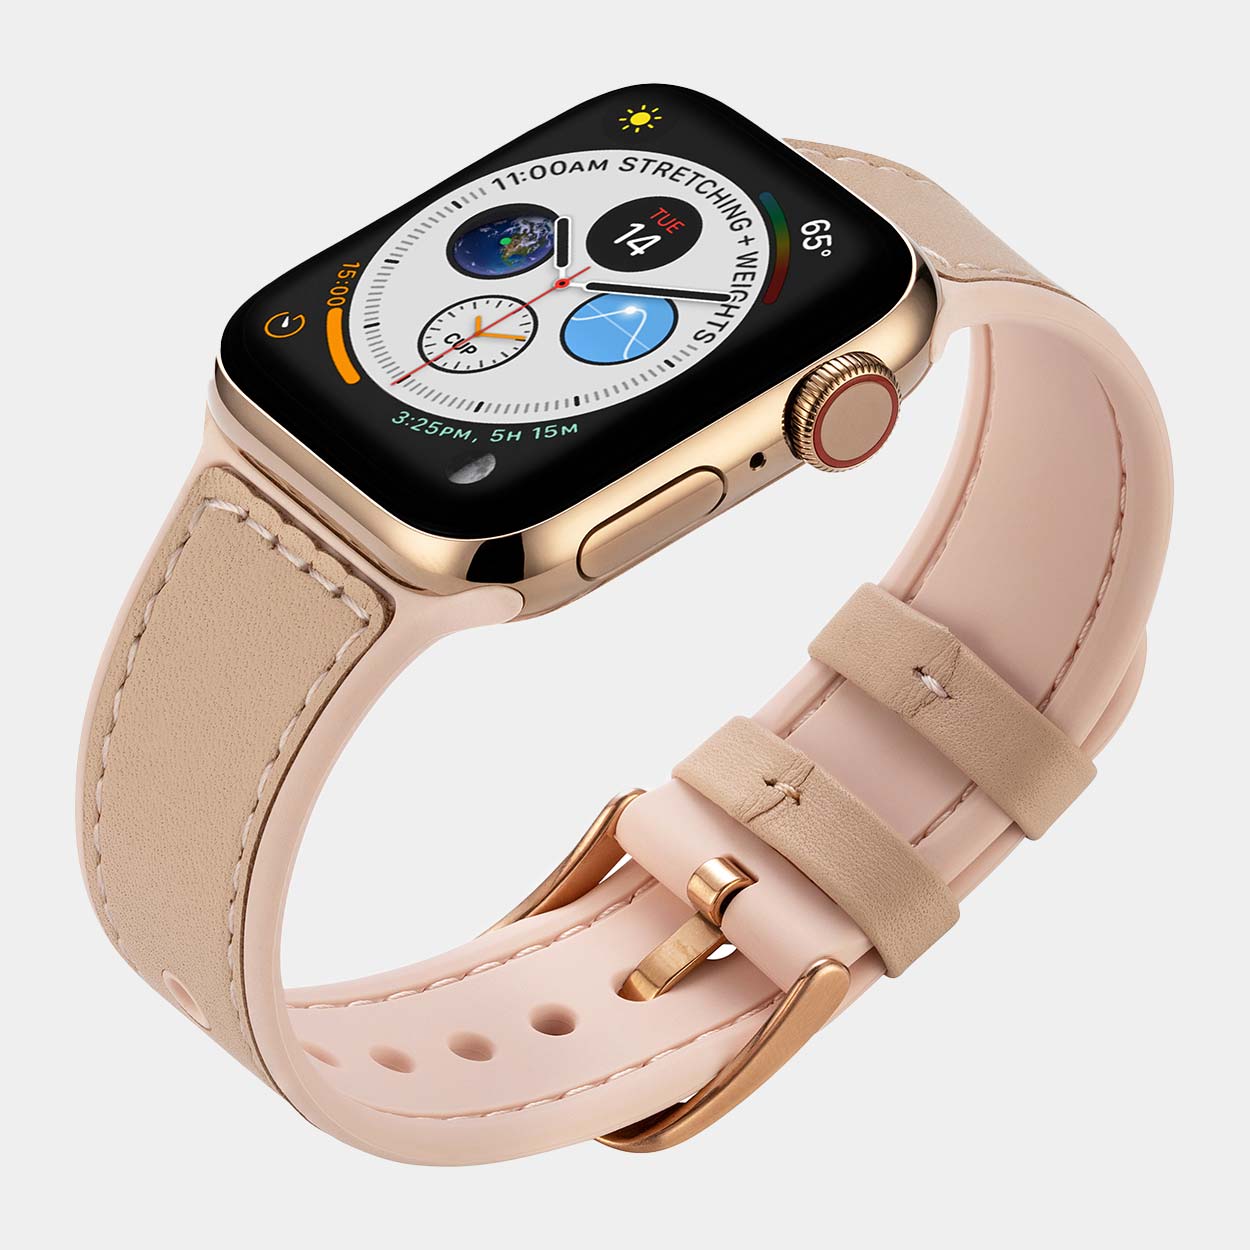
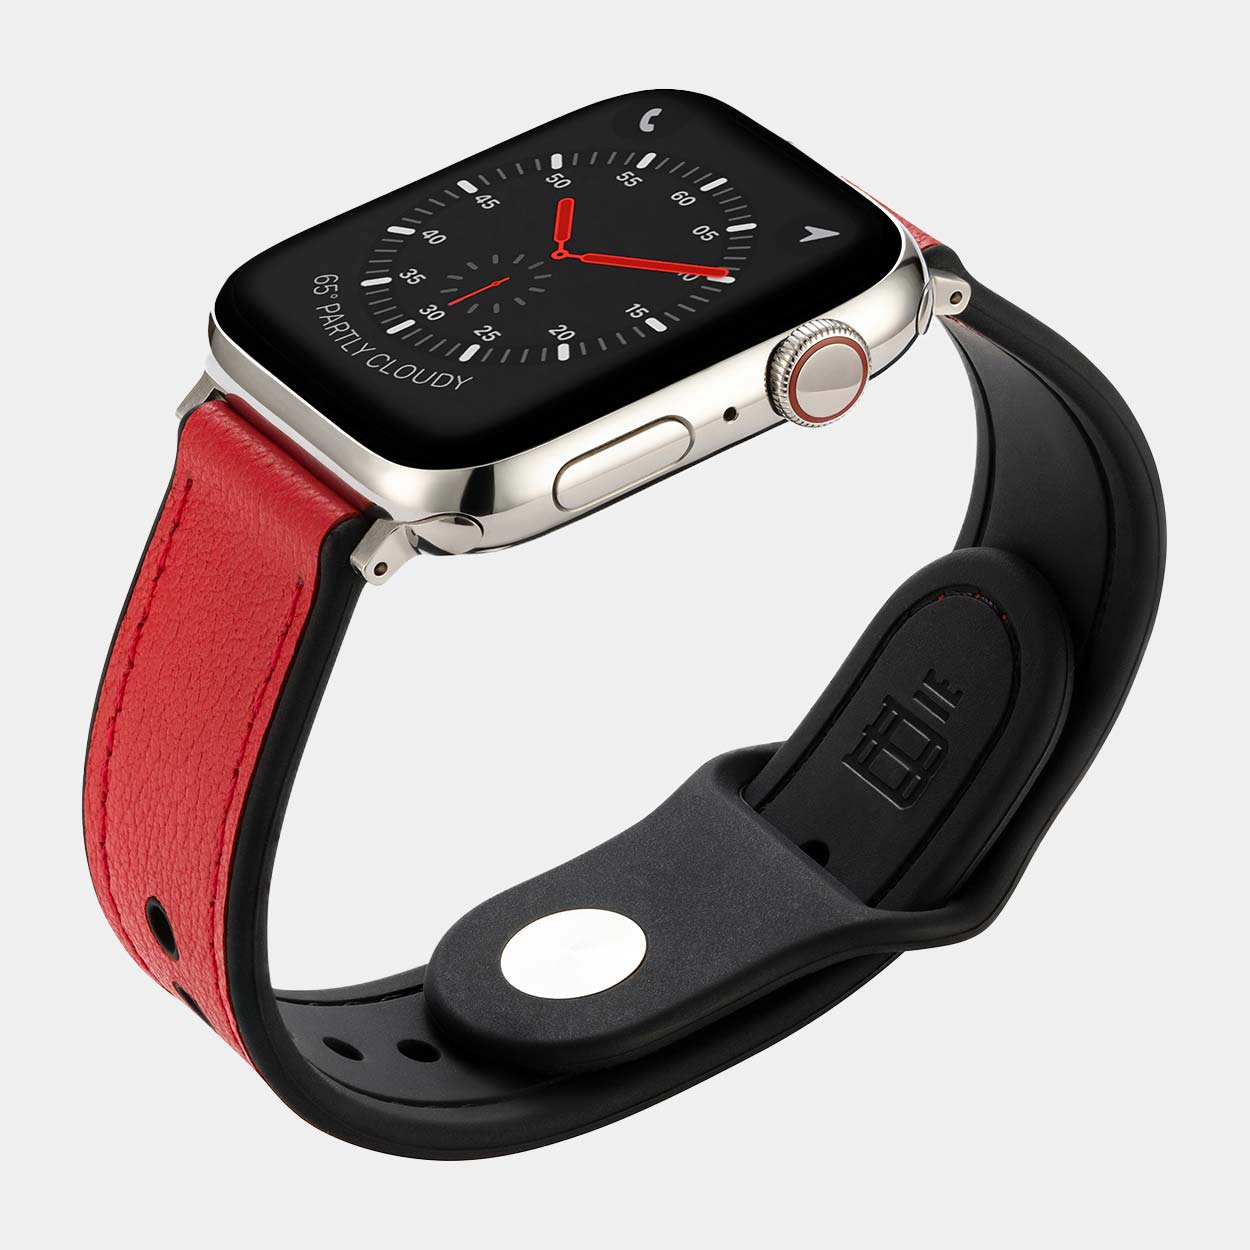
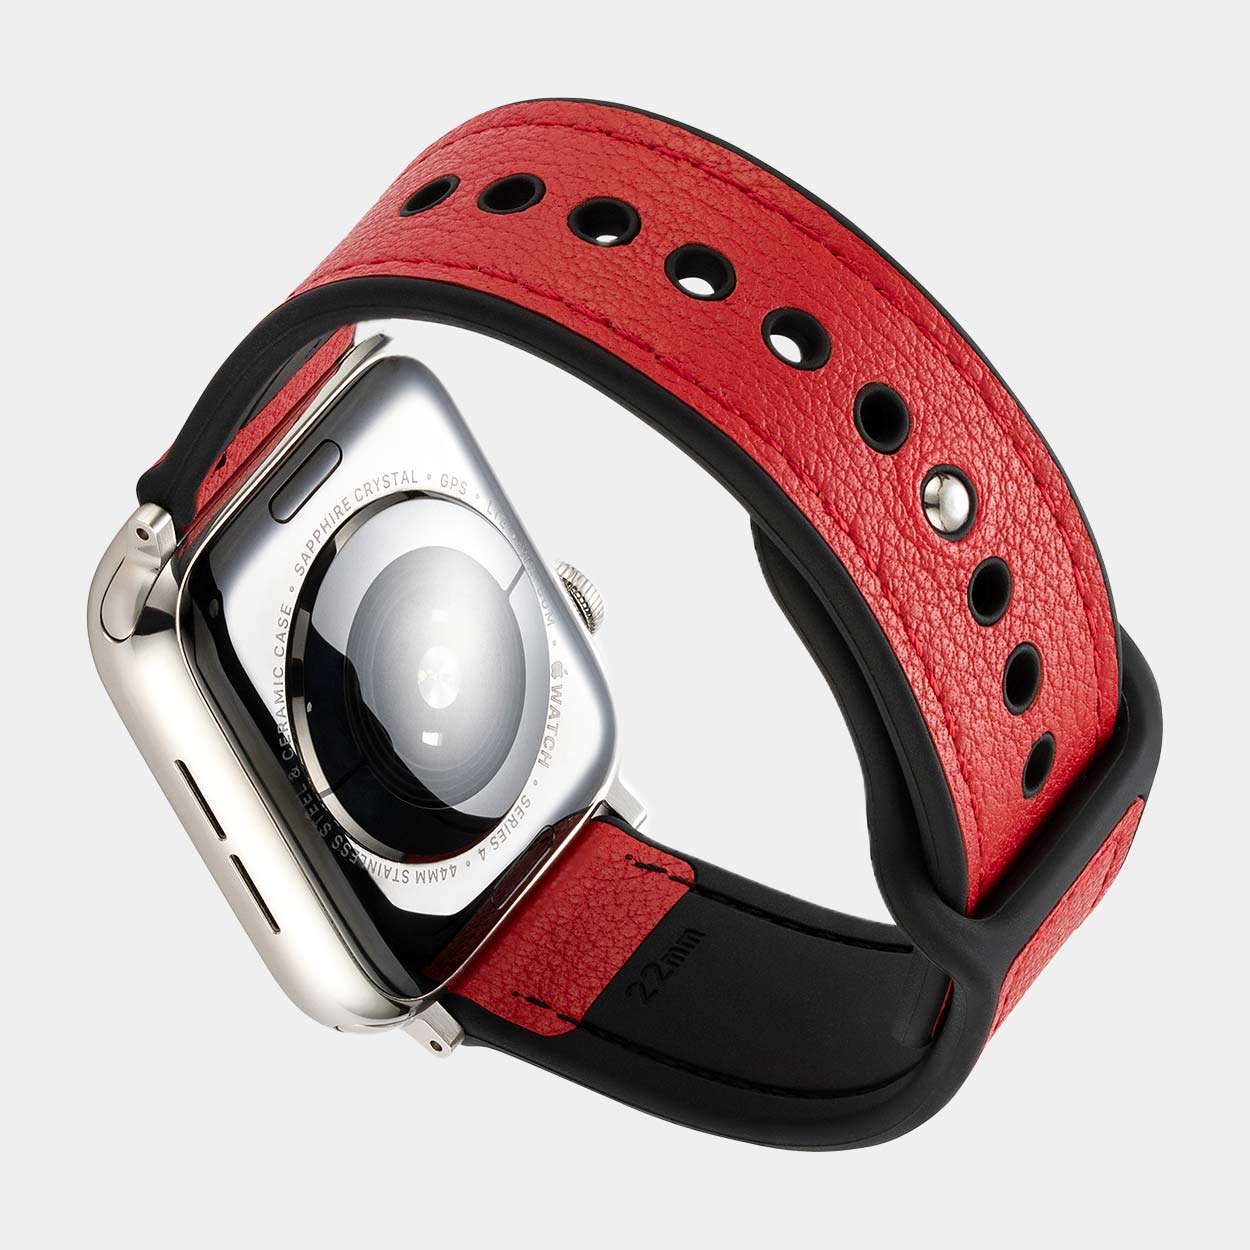
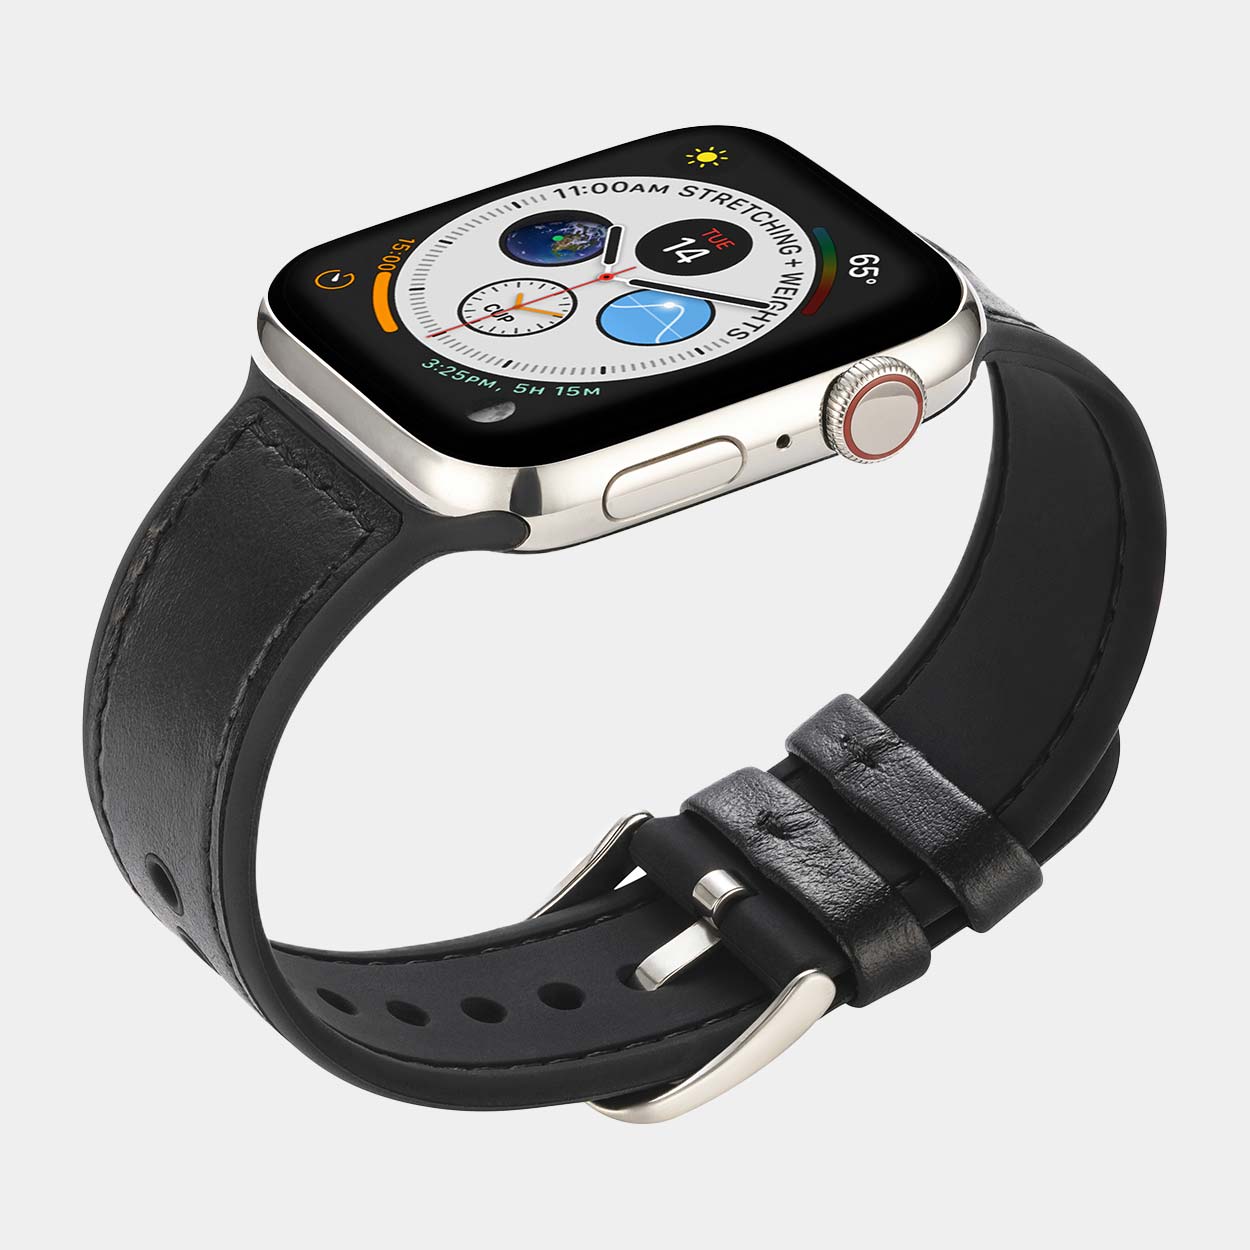
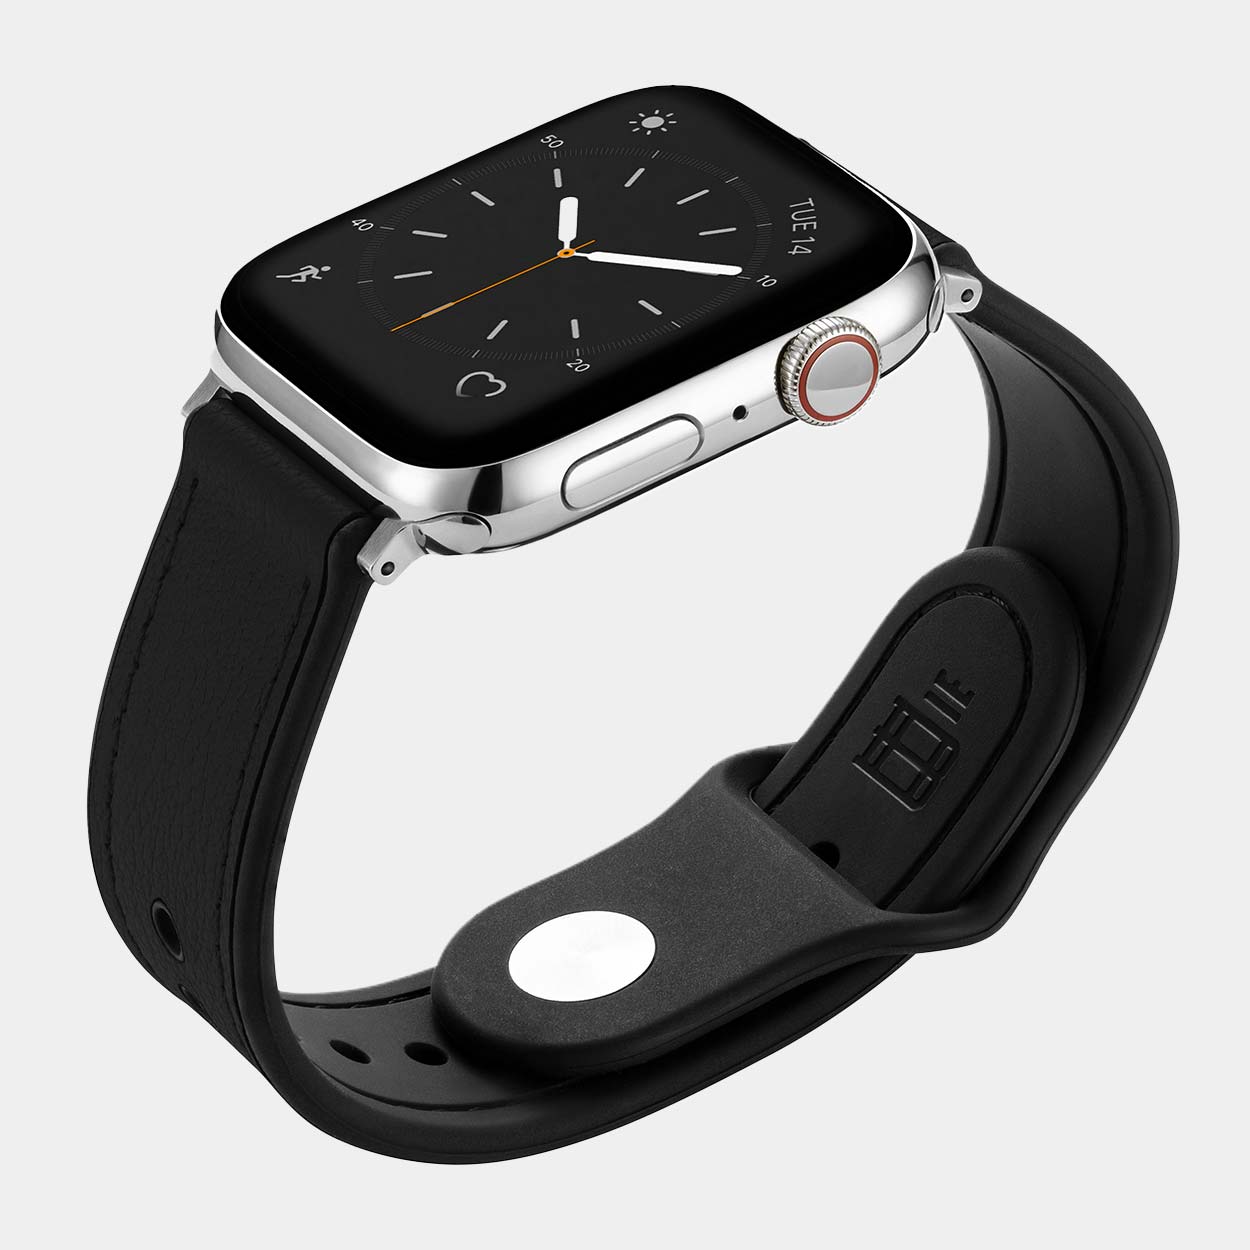
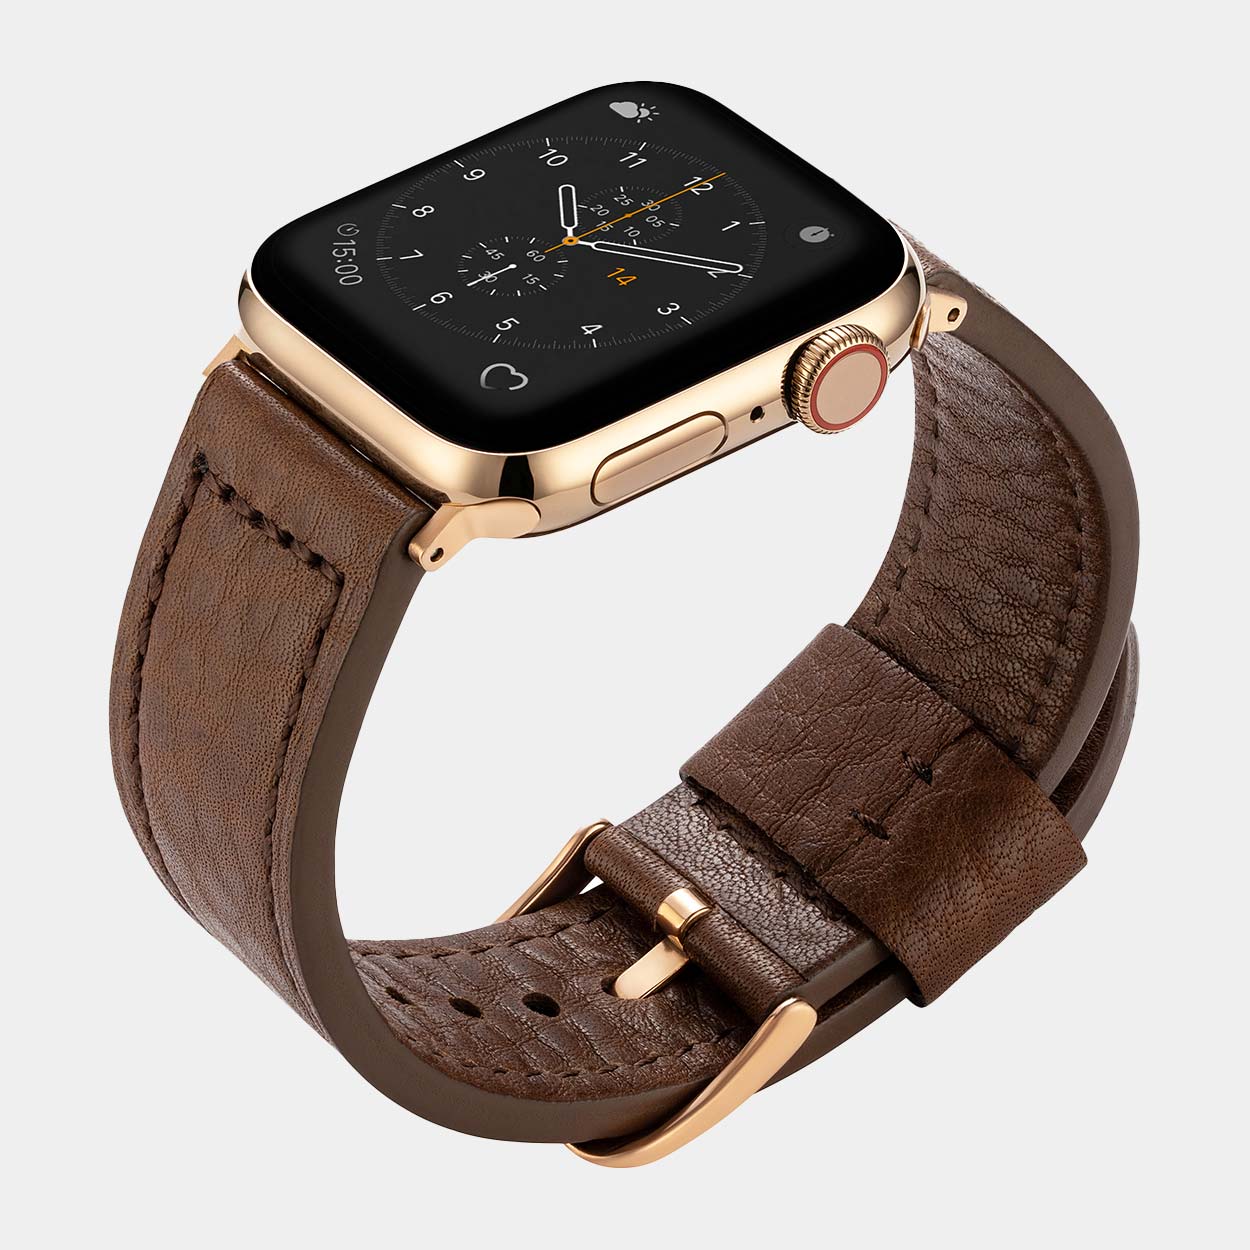
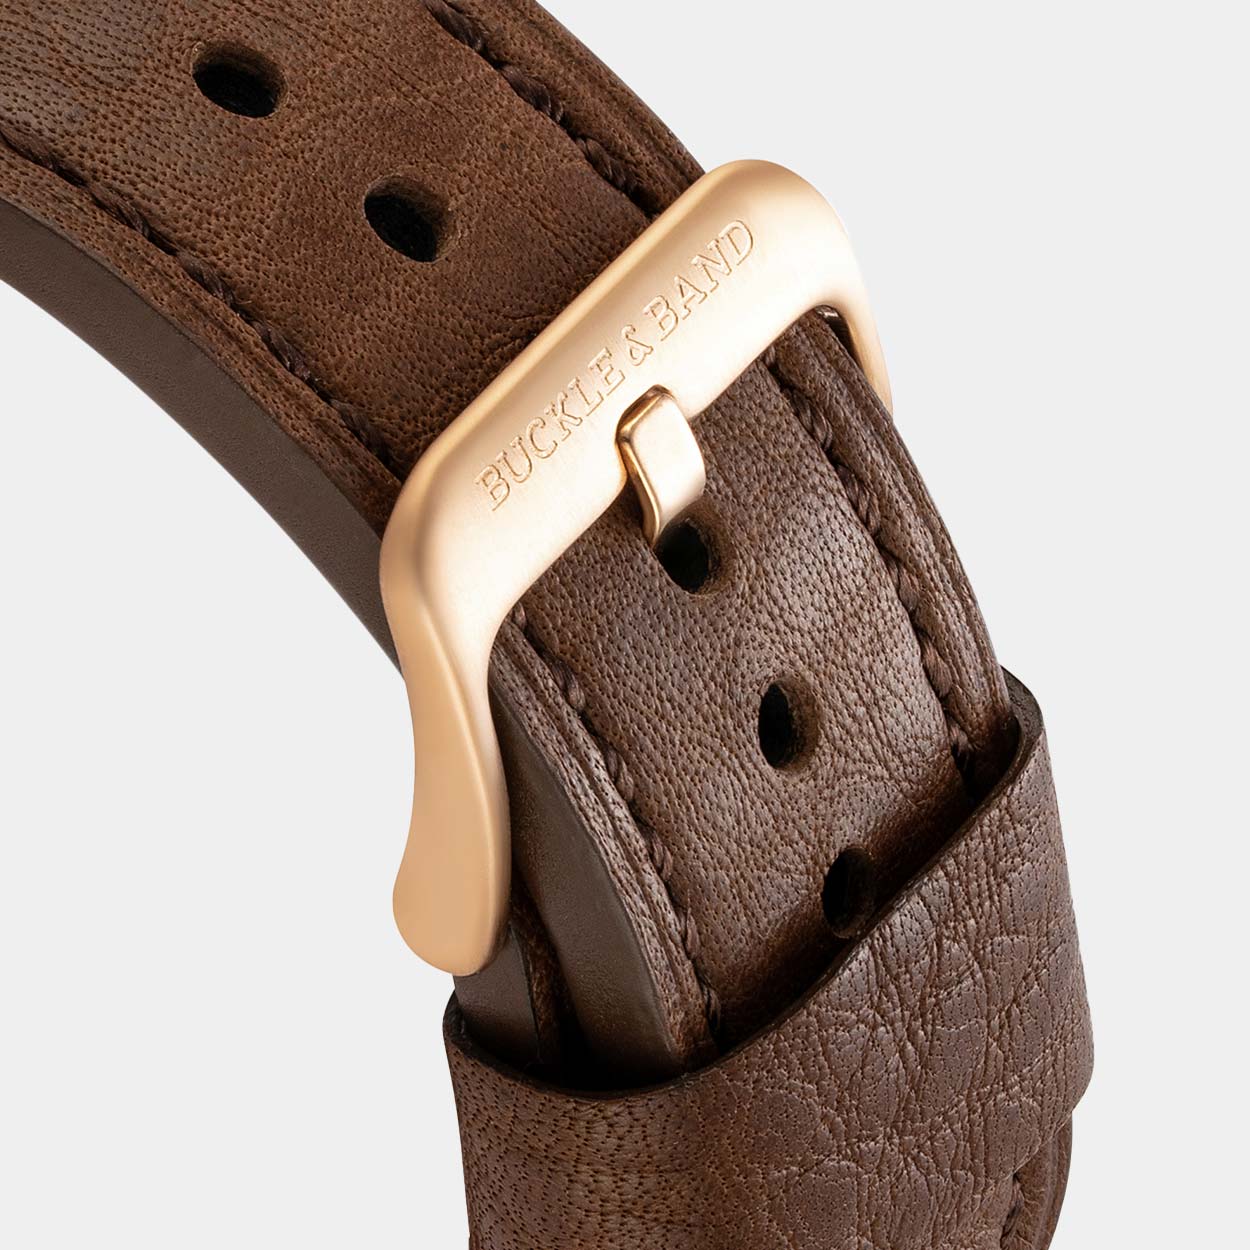
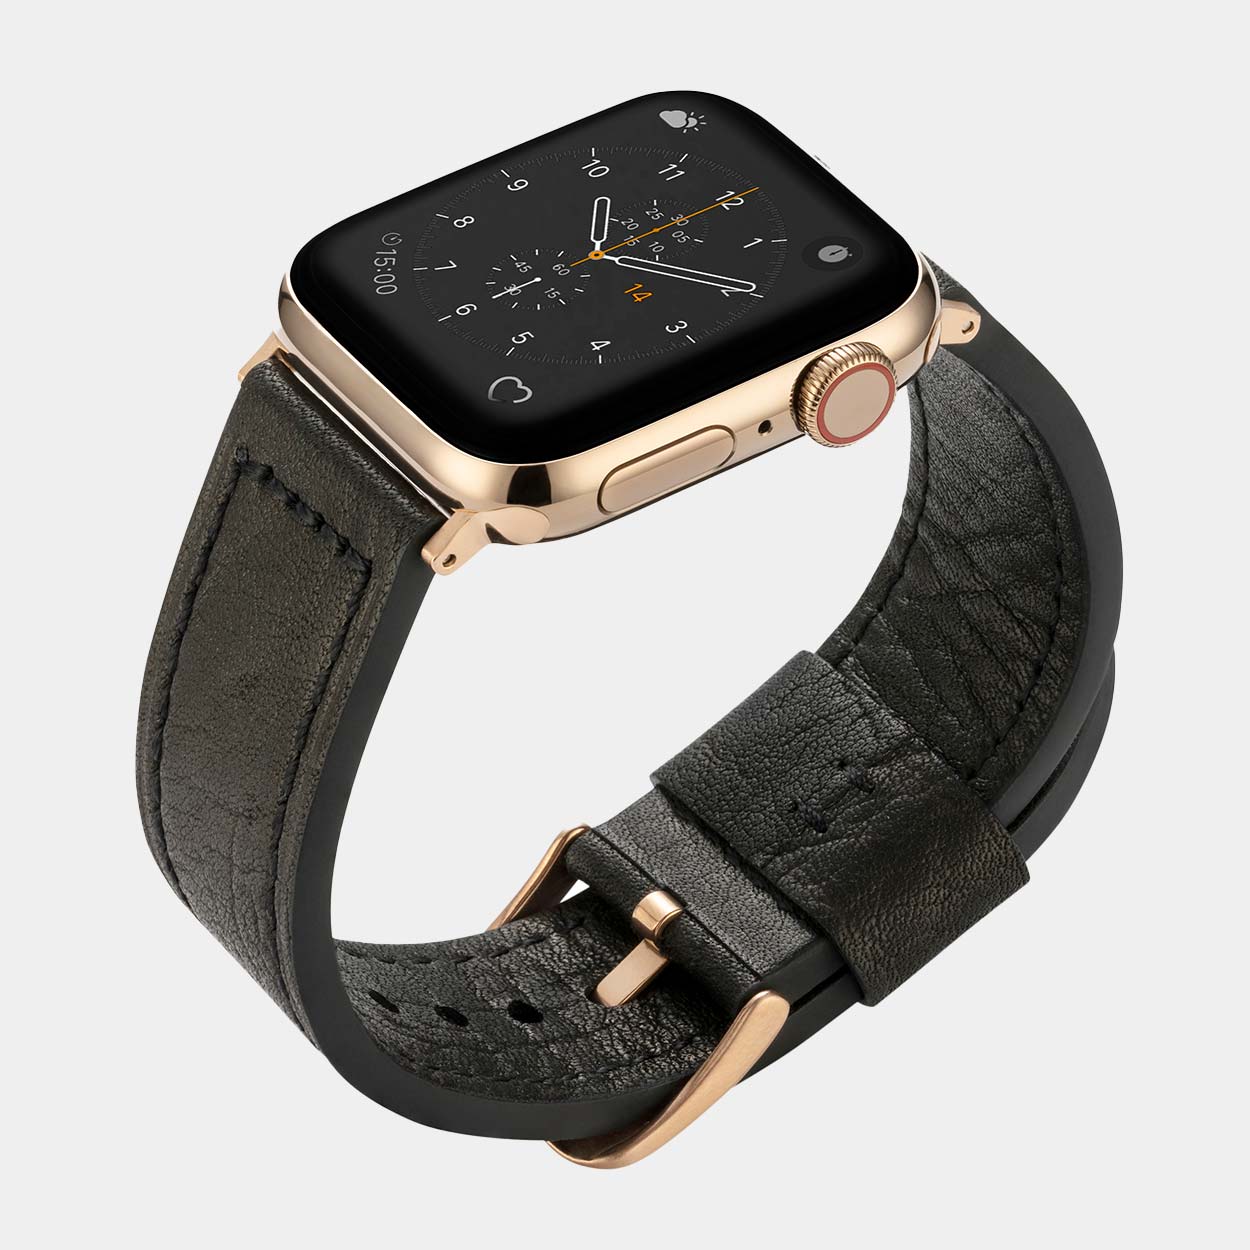
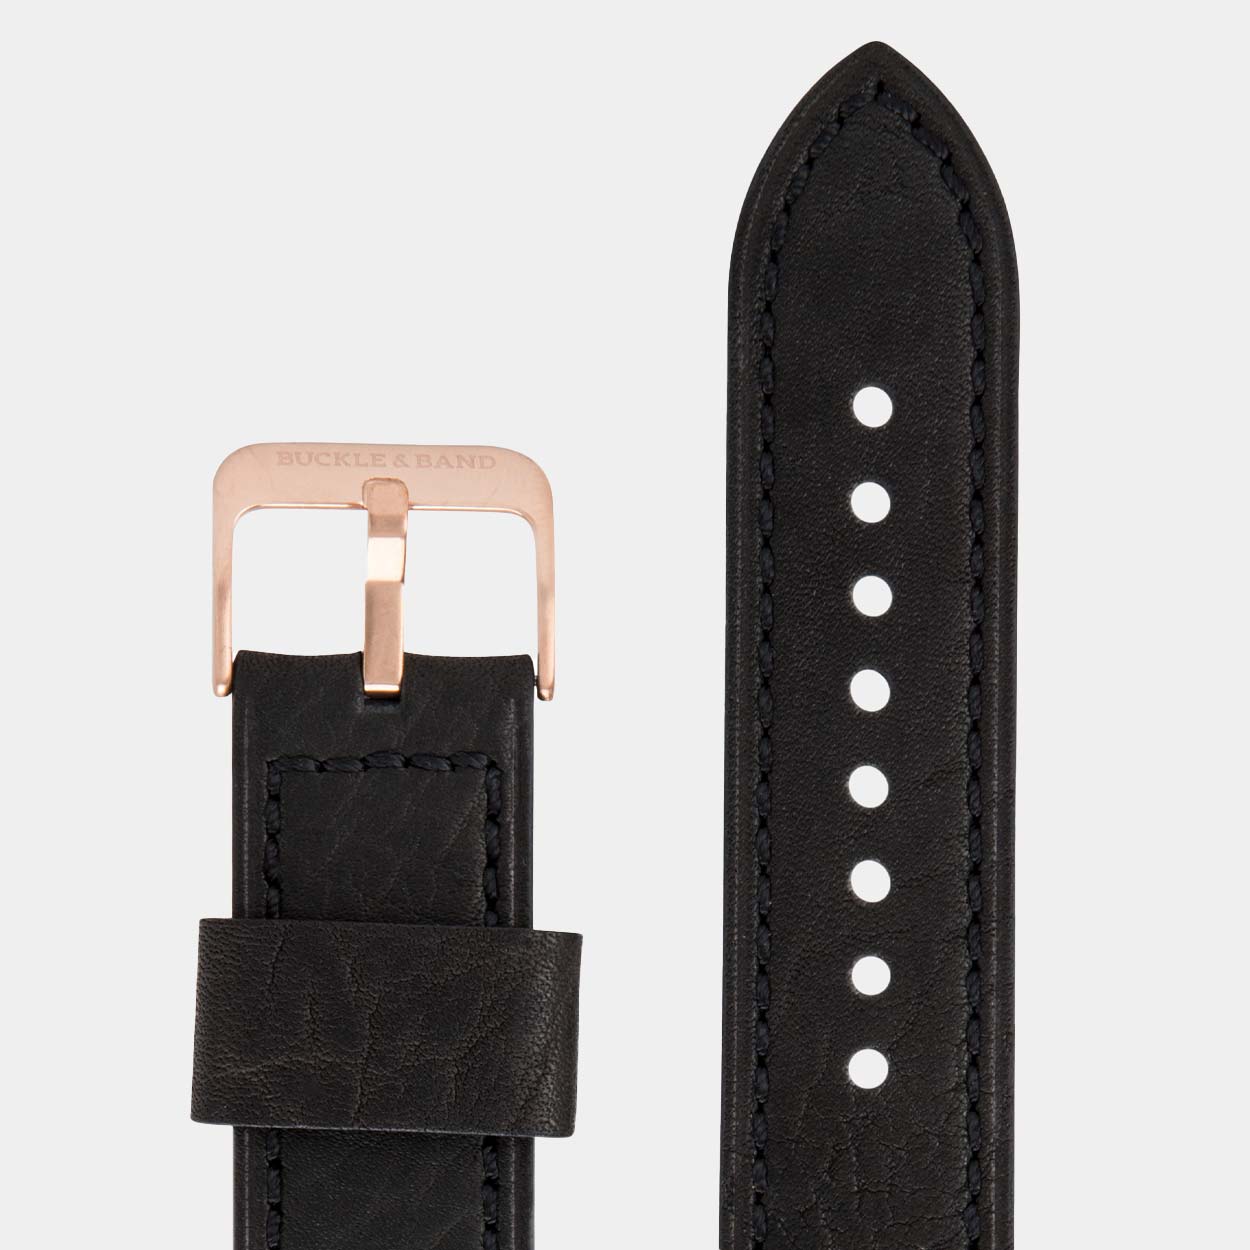
Our collection offers a variety of styles to suit every occasion. Discover our range of Apple Watch bands here
Step 2: Remove Your Current Band
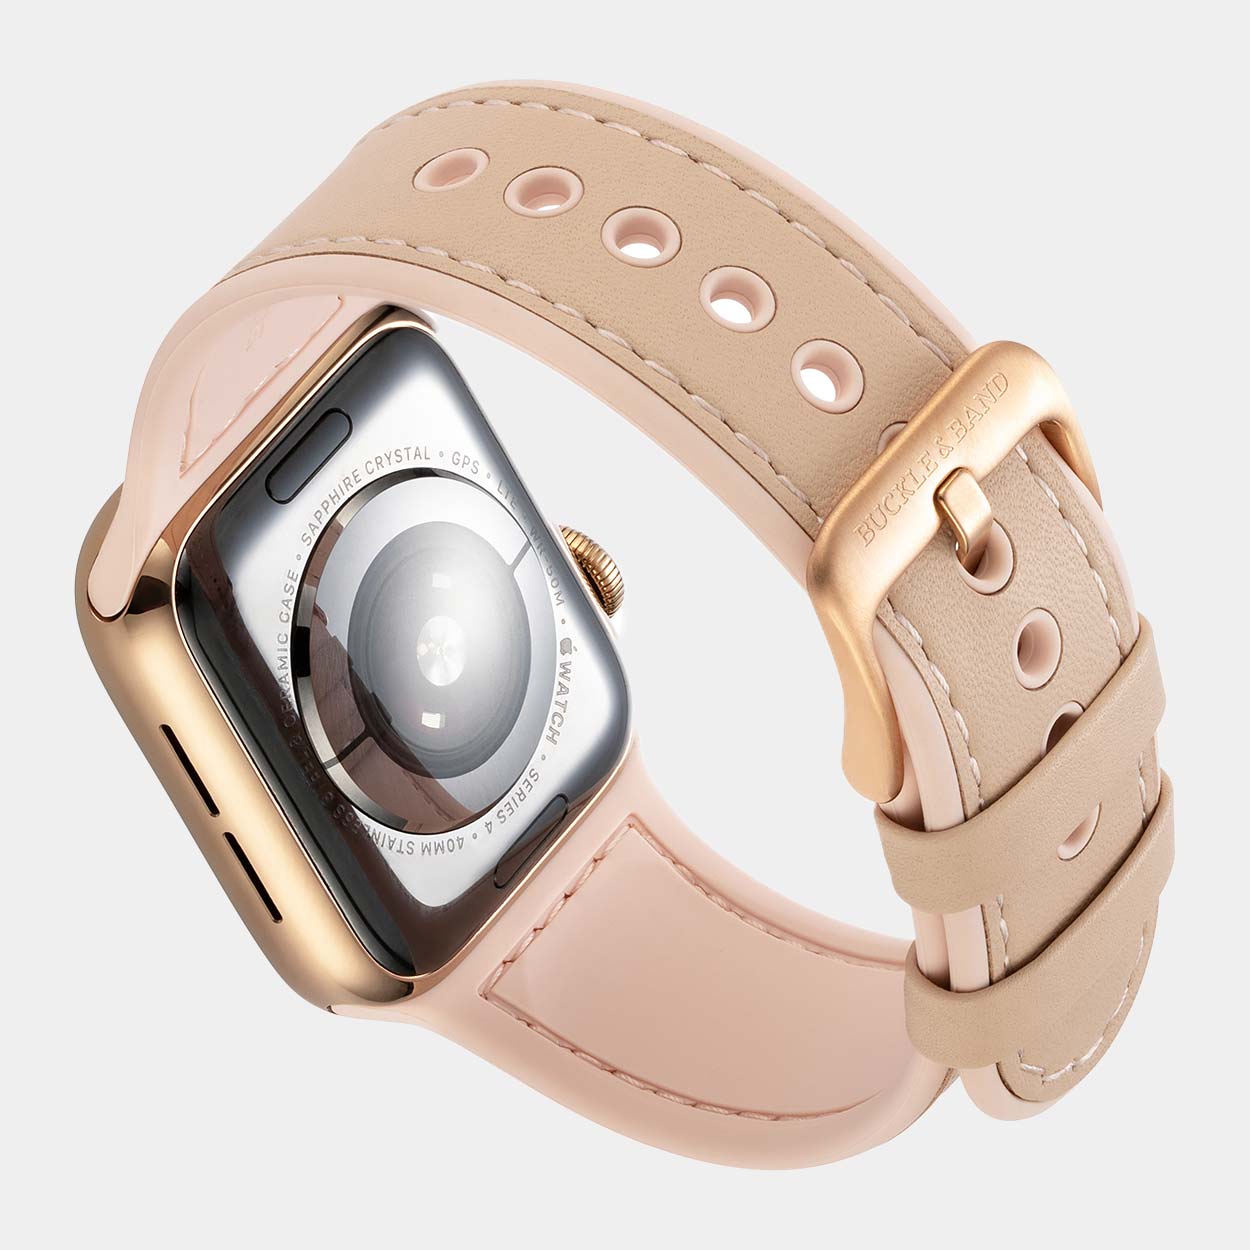
- Place your Apple Watch face down on a soft surface to avoid any scratches.
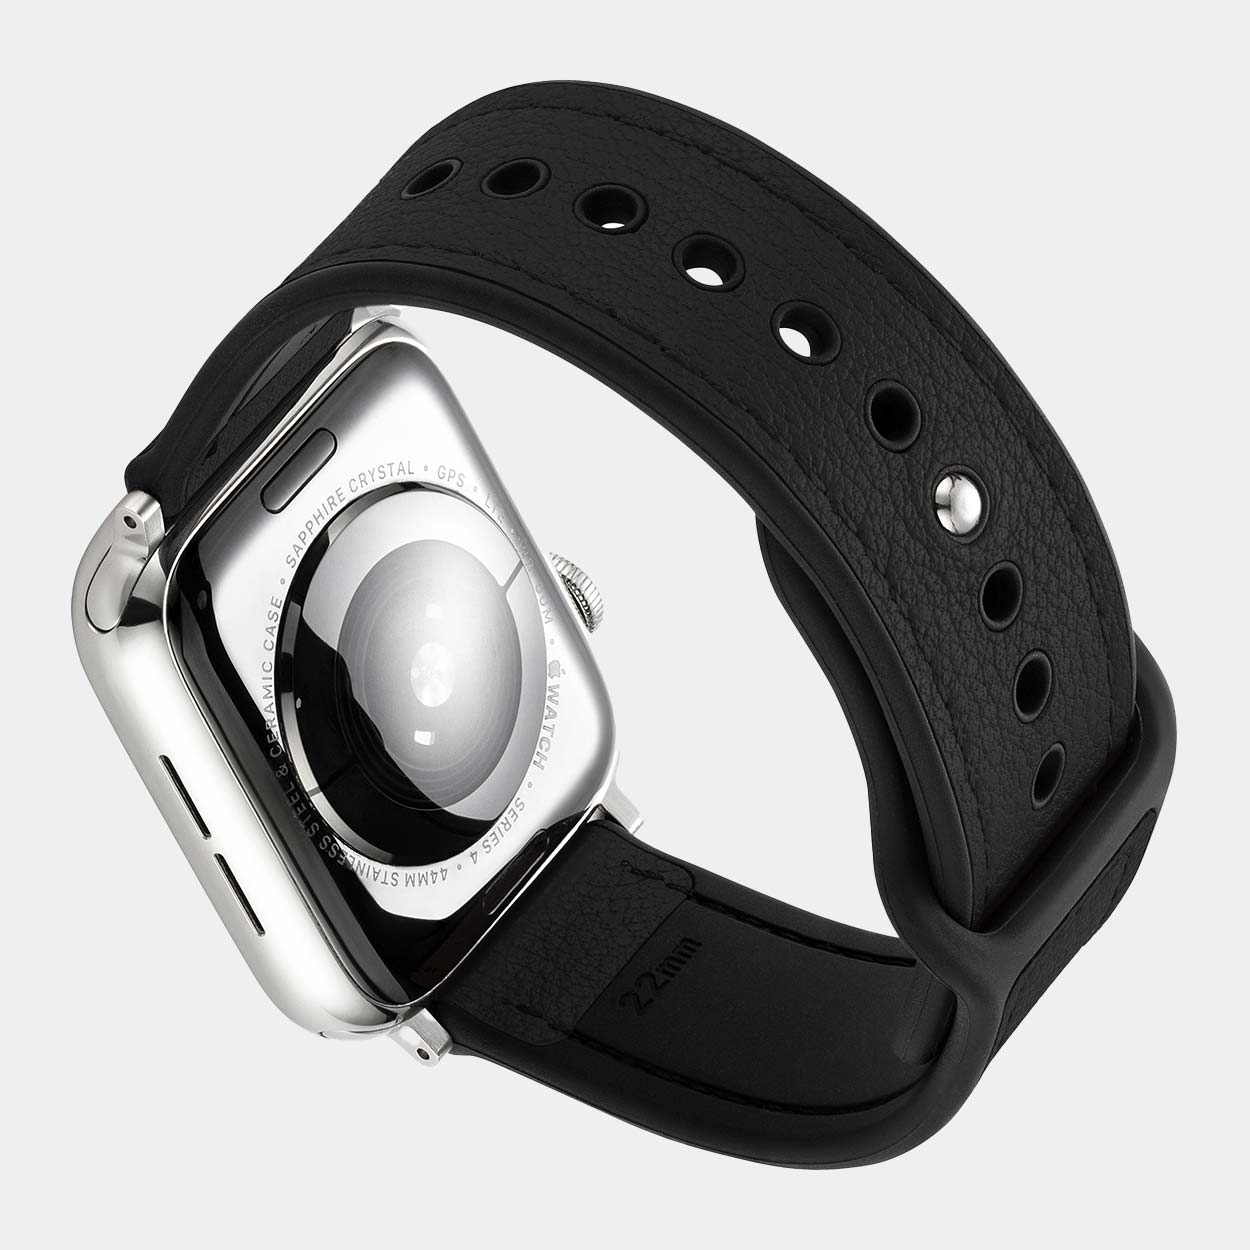
- You’ll find band release buttons on the back of the watch. Press one of these buttons and slide the band sideways to remove it.
- Repeat the process with the other side of the band.
Step 3: Choose Your New Band
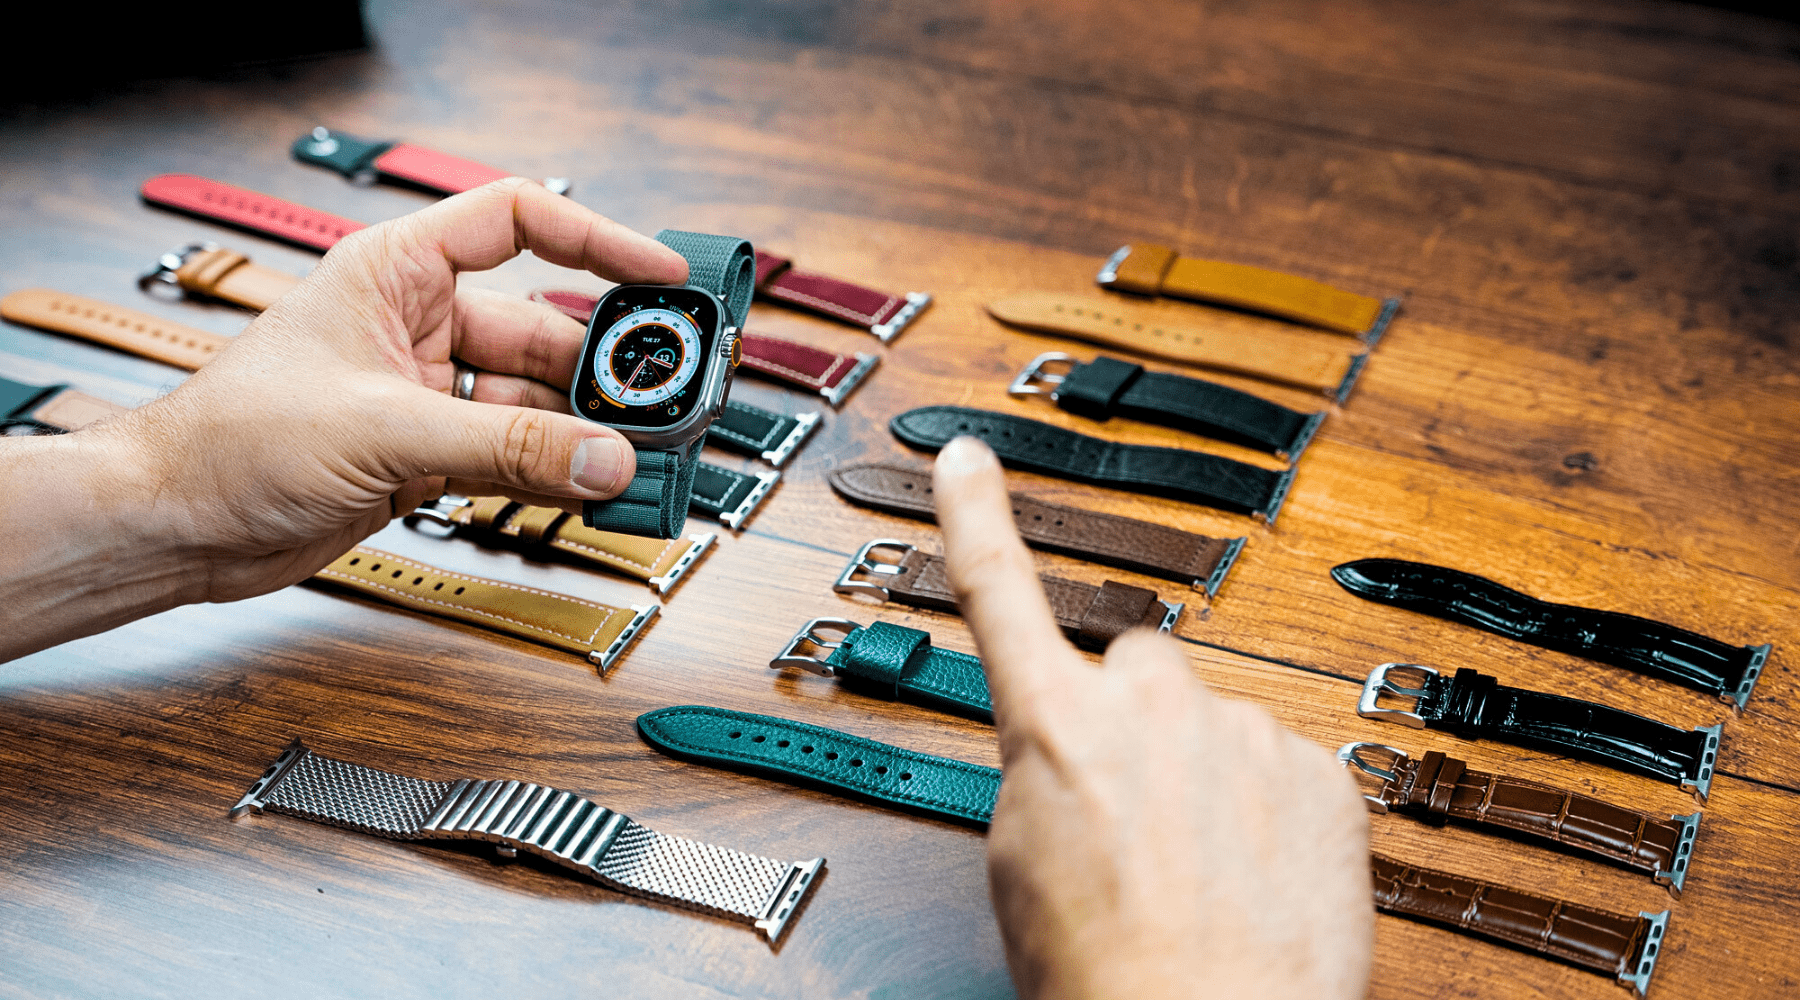
It’s time to pick a new look! Buckle & Band provides a plethora of bands to match your style. Explore our collection here and choose one that you love.
Step 4: Attach Your New Band
- Take one side of your new band and slide it into the band slot until you hear a soft click. This indicates that the band is securely in place.
- Repeat the same with the other side of the band.
- Tug gently on both sides of the band to ensure they are firmly attached.

Step 5: Flaunt Your New Style Voila!
You’ve successfully swapped your Apple Watch band. Now it’s time to flaunt your newly personalised gadget.
Conclusion: Swapping bands on your Apple Watch is a breeze, isn’t it? With Buckle & Band’s array of stylish bands, you can change your look as often as you wish. Browse through our collection below and keep your Apple Watch looking fresh and fabulous every day!
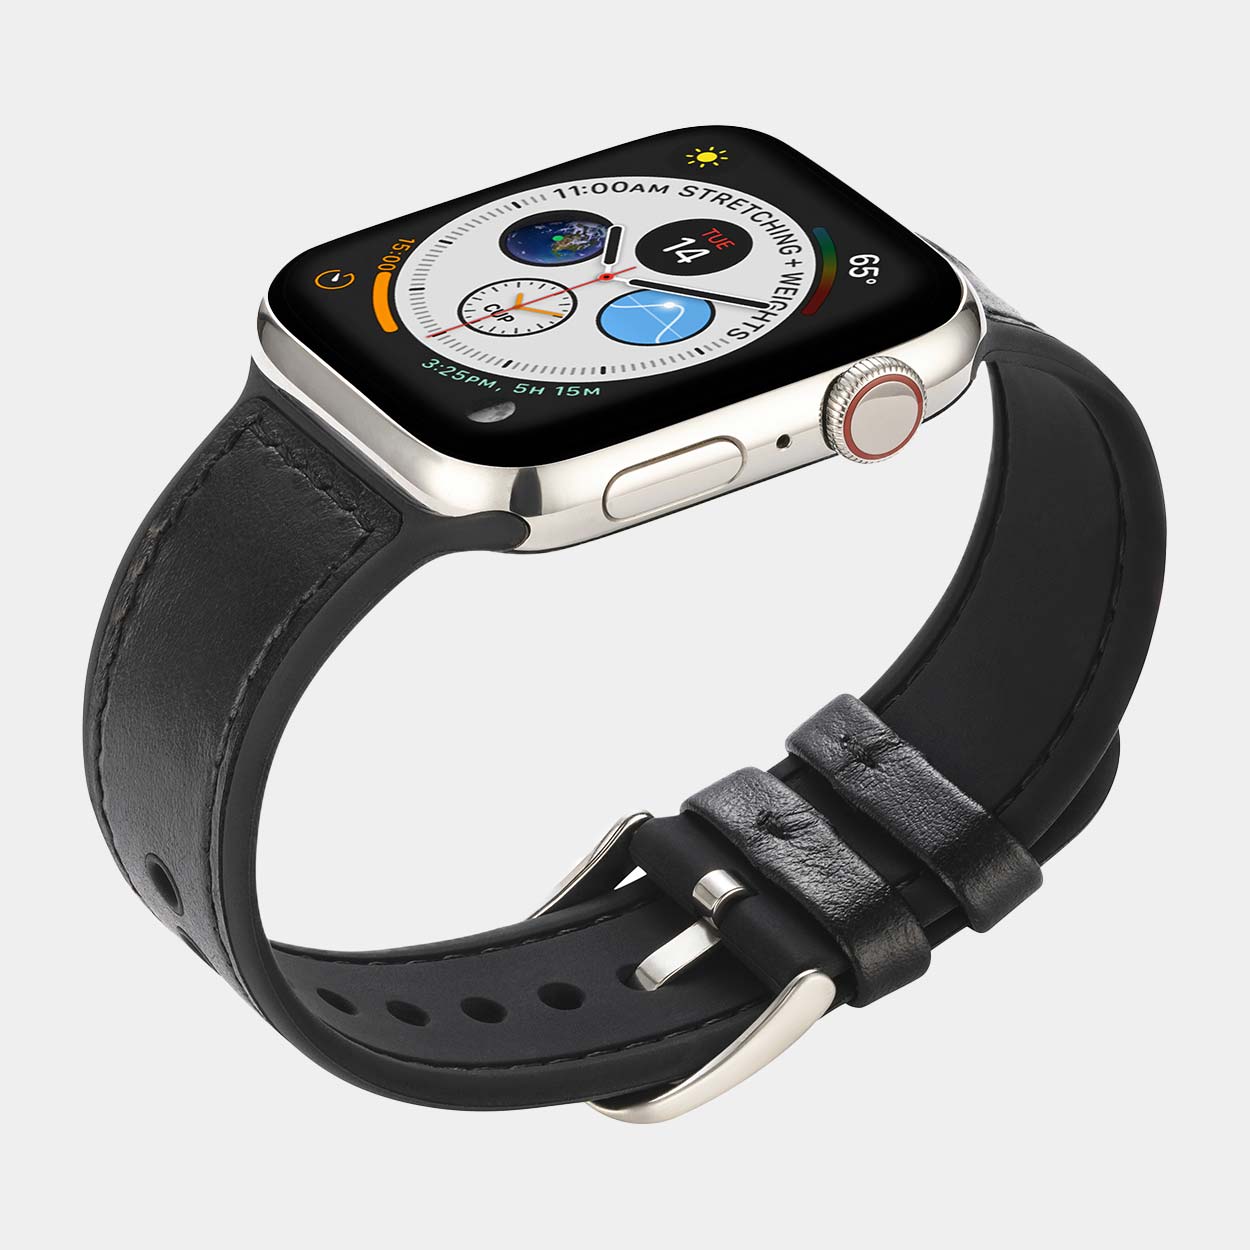
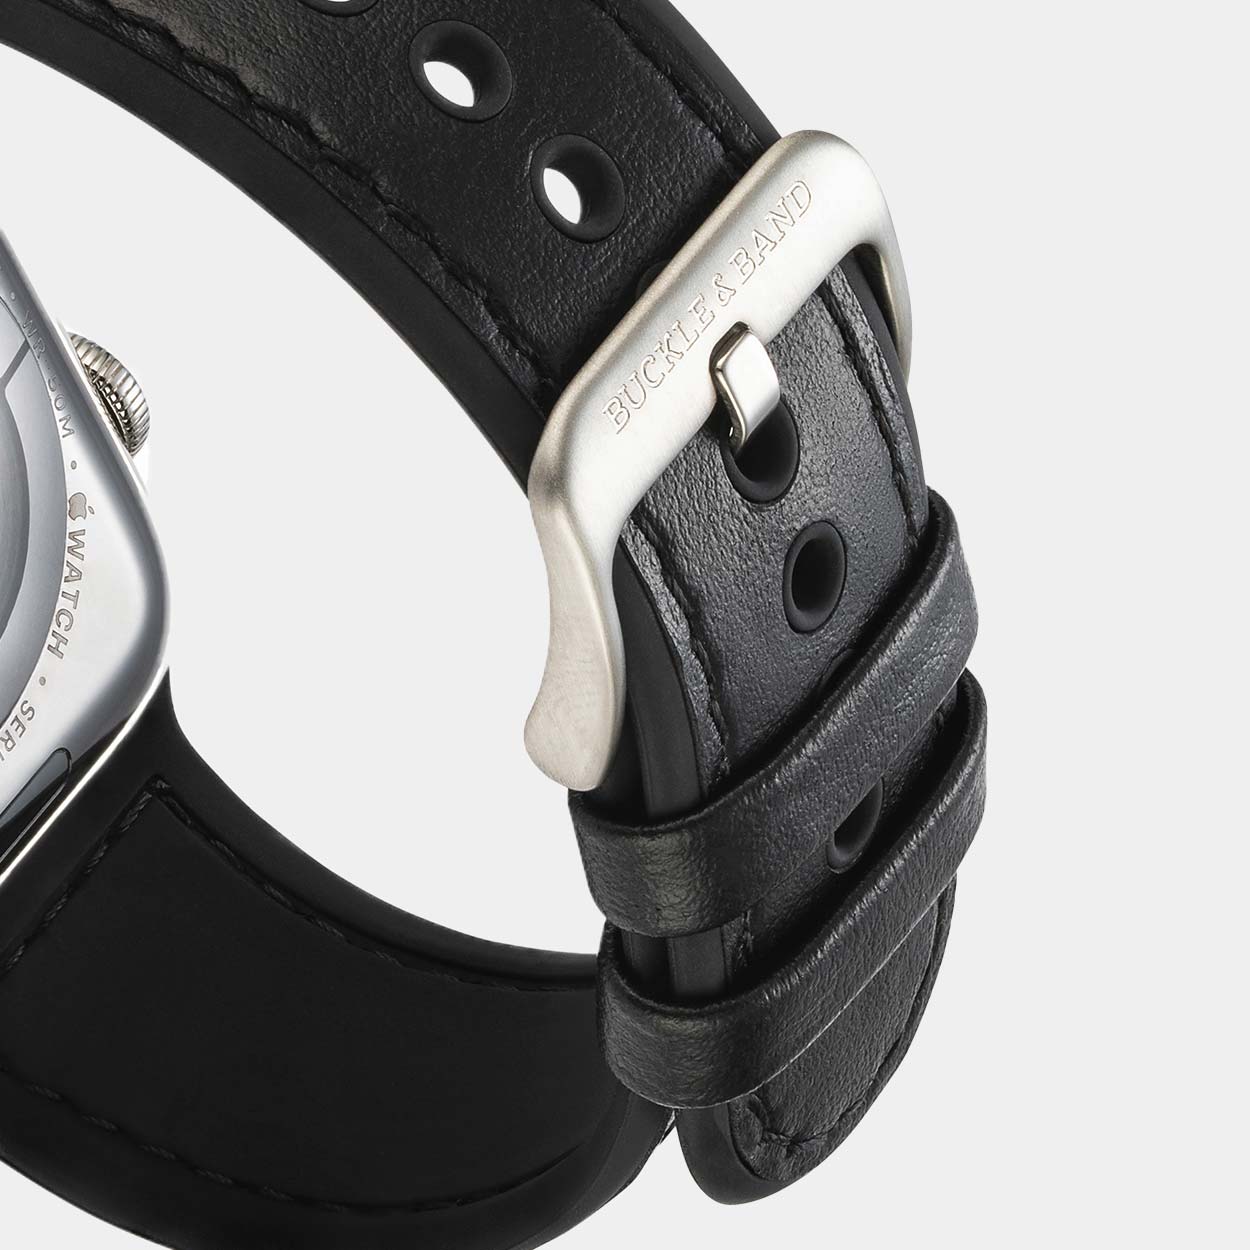
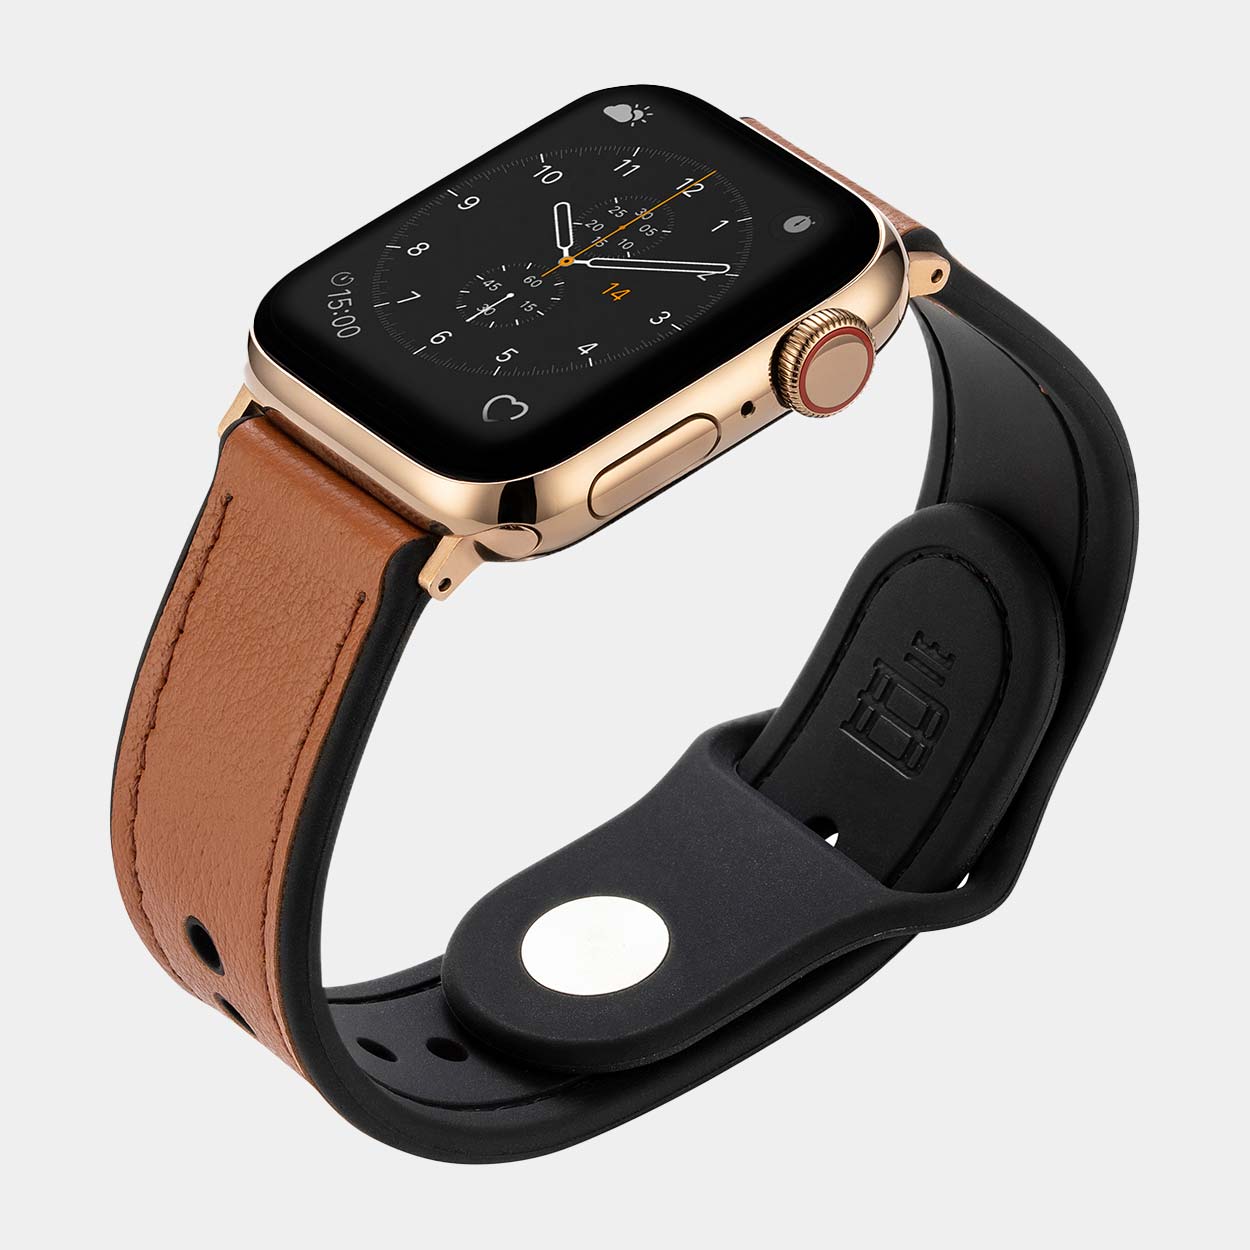
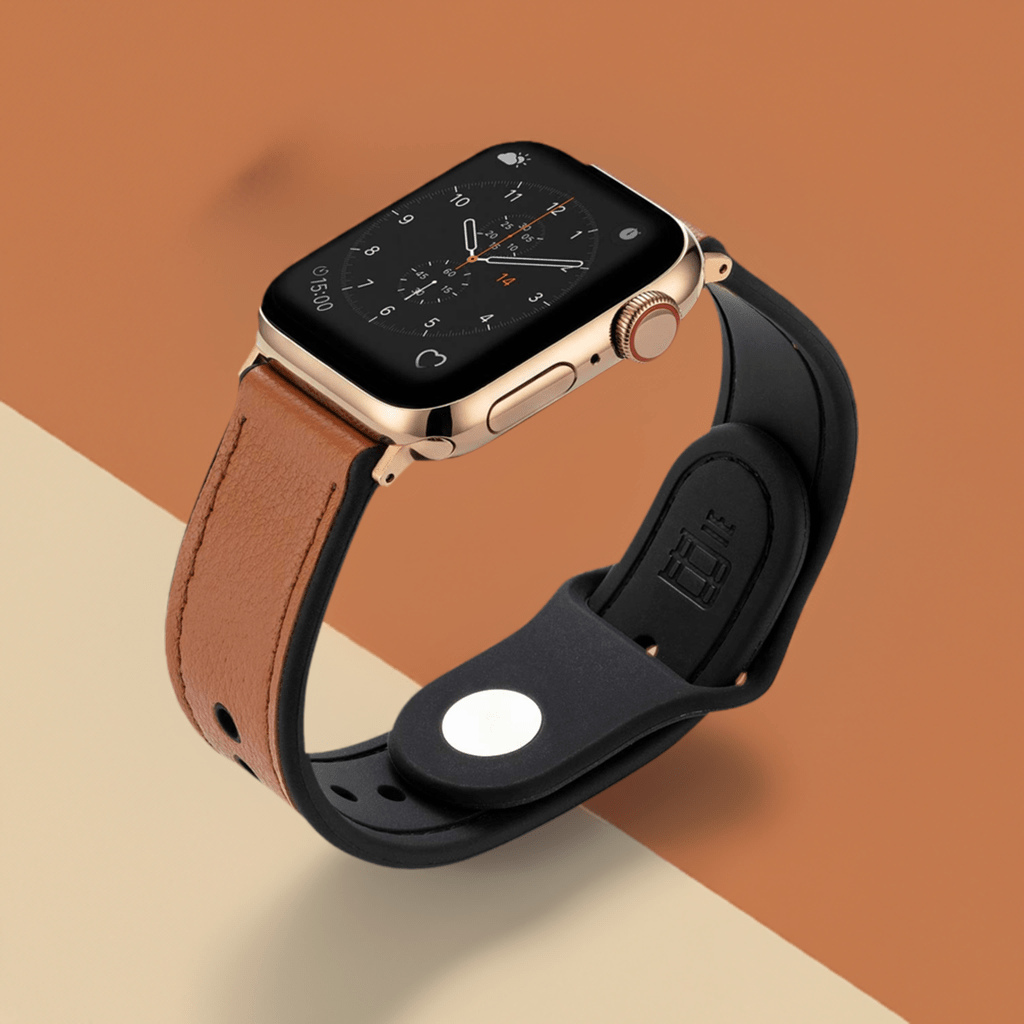
Featured Products:




Leave a comment
This site is protected by hCaptcha and the hCaptcha Privacy Policy and Terms of Service apply.