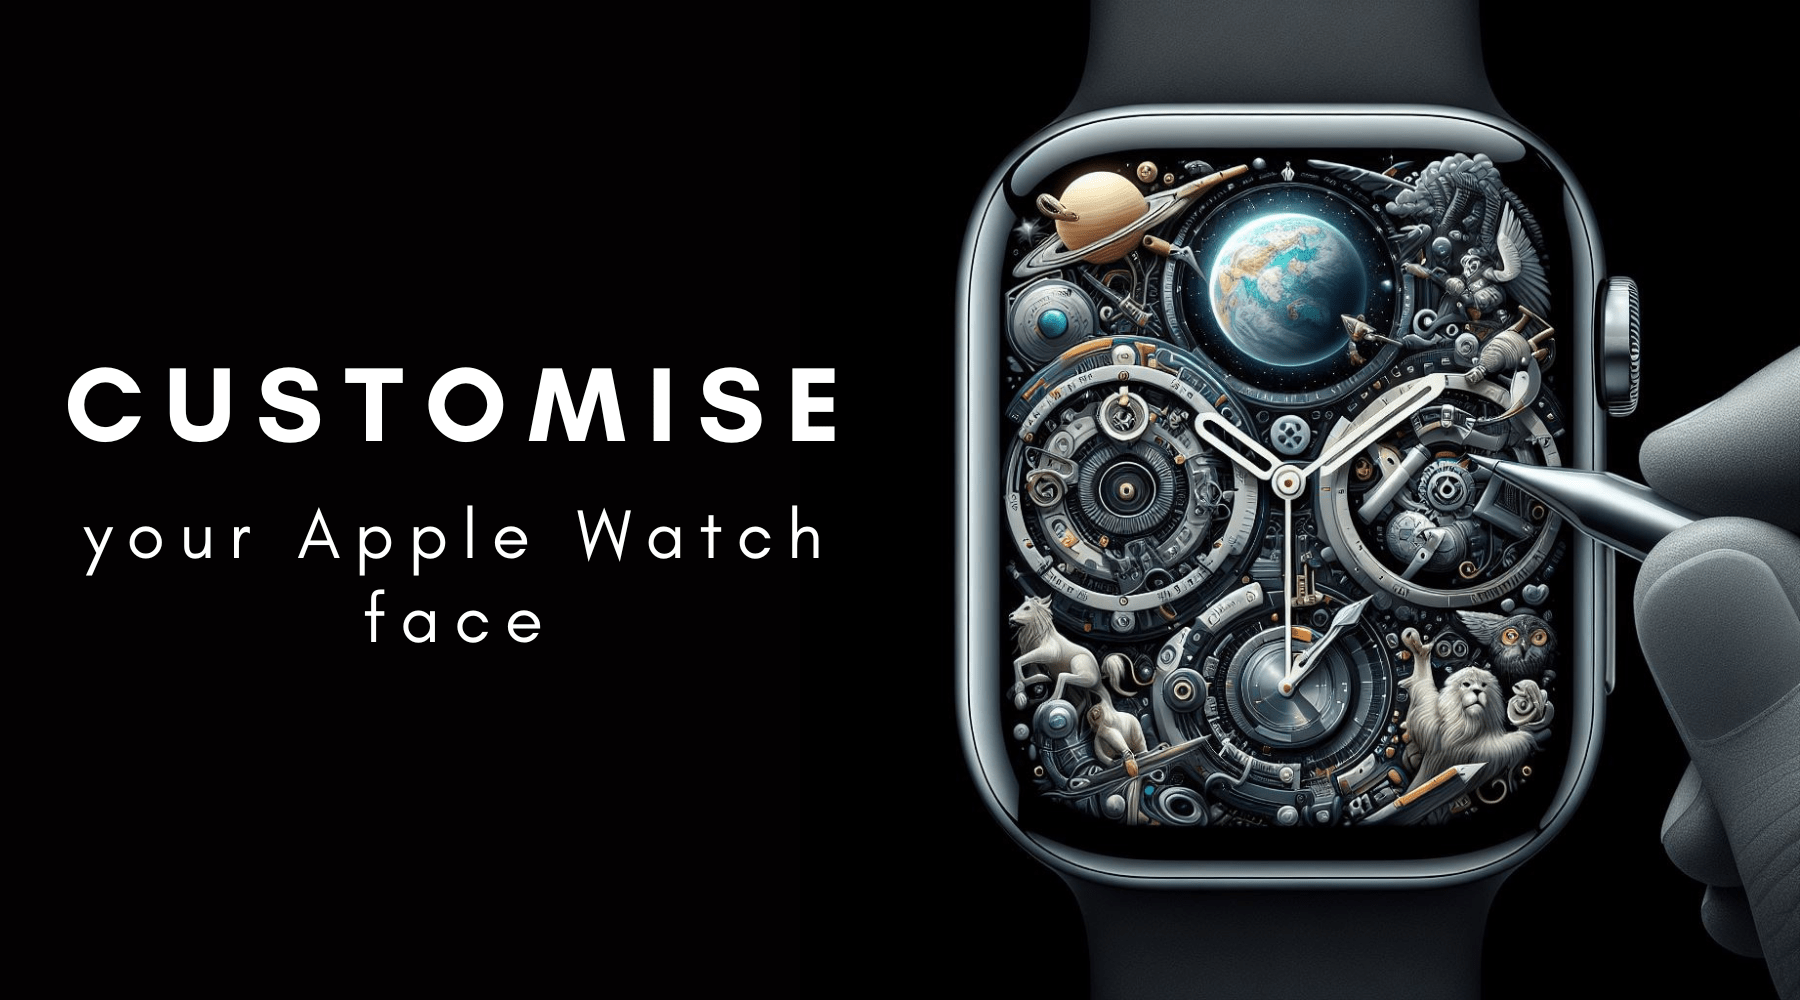
Customising Your Apple Watch Face: A Step-by-Step Guide
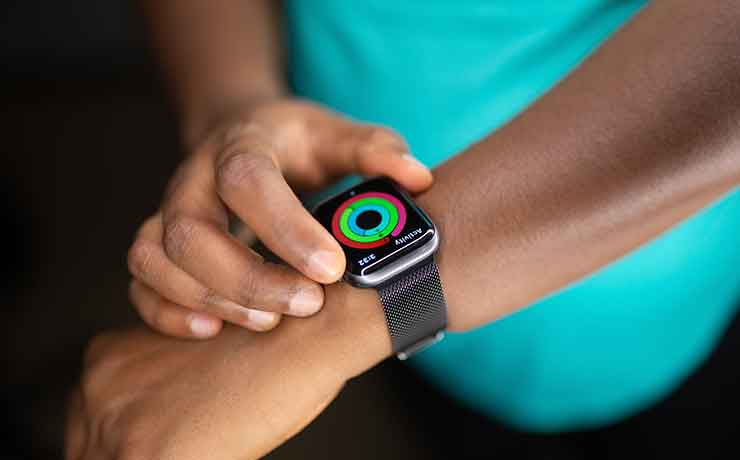
The Apple Watch is a smart and stylish device that can help you stay connected, track your health, and express your personality. One of the best ways to personalise your Apple Watch is to customise its face. You can choose from a variety of watch faces, each with its own features, colours, and complications. You can also create your own watch face from your photos, albums, or memories.
In this blog post, I will show you how to customise your Apple Watch face in a few easy steps. You will need an Apple Watch and an iPhone with the latest version of iOS and watchOS installed. Let’s get started!
Step 1: Choose a watch face
The first step is to choose a watch face that suits your style and needs. You can browse the available watch faces on your Apple Watch or on your iPhone.
To choose a watch face on your Apple Watch, follow these steps:
- Press the Digital Crown to go to the watch face screen.
- Swipe left or right to see the different watch faces.
- Tap the one you like to select it.
To choose a watch face on your iPhone, follow these steps:
- Open the Watch app on your iPhone.
- Tap the Face Gallery tab at the bottom of the screen.
- Scroll through the categories and tap the one you like to see the options.
- Tap the watch face you like to select it.
Step 2: Customise the watch face
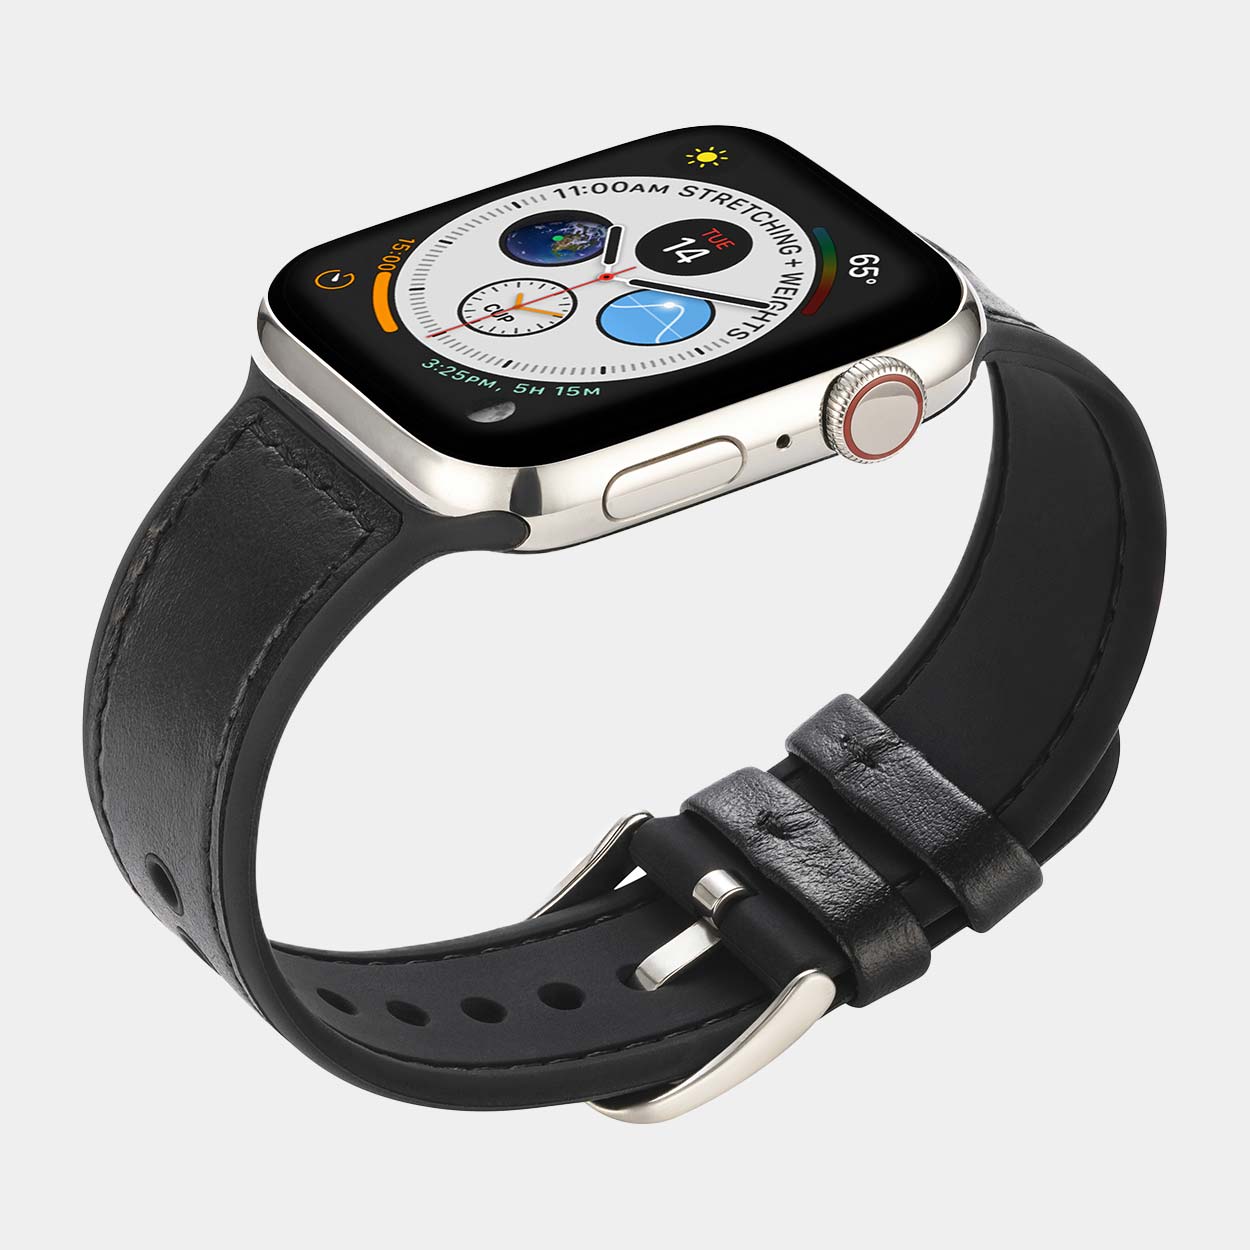
The next step is to customise the watch face to your liking. You can change the features, colours, and complications of the watch face. Complications are small widgets that display useful information, such as the date, weather, battery, or activity.
To customise the watch face on your Apple Watch, follow these steps:
- Press the Digital Crown to go to the watch face screen.
- Press firmly on the watch face to enter customisation mode.
- Swipe left or right to see the different customisation options.
- Tap the option you want to change and use the Digital Crown or your finger to adjust it.
- When you are done, press the Digital Crown to exit customisation mode.
To customise the watch face on your iPhone, follow these steps:
- Open the Watch app on your iPhone.
- Tap the My Watch tab at the bottom of the screen.
- Tap the watch face you want to customise under My Faces.
- Tap the option you want to change and use the slider or the picker to adjust it.
- When you are done, tap Set as current Watch Face to apply the changes.
Step 3: Create your own watch face
The final step is to create your own watch face from your photos, albums, or memories. You can use your favourite photos as the background of your watch face and add complications to make it more functional.
To create your own watch face on your Apple Watch, follow these steps:
- Press the Digital Crown to go to the watch face screen.
- Press firmly on the watch face to enter customisation mode.
- Swipe left until you see the New button and tap it.
- Swipe up or down to see the different watch face types and tap the one you like.
- Tap the Customise button to change the features, colours, and complications of the watch face.
- When you are done, press the Digital Crown to exit customisation mode.
To create your own watch face on your iPhone, follow these steps:
- Open the Photos app on your iPhone.
- Tap the photo, album, or memory you want to use as the background of your watch face.
- Tap the Share button at the bottom left of the screen.
- Tap Create Watch Face and choose the watch face type you like.
- Tap the Customise button to change the features, colours, and complications of the watch face.
- When you are done, tap Add to apply the changes.
Congratulations! You have successfully customised your Apple Watch face. You can now enjoy your unique and personalised watch face on your wrist. You can also change your watch face anytime by following the same steps. Have fun and be creative! 🎨


Leave a comment
This site is protected by hCaptcha and the hCaptcha Privacy Policy and Terms of Service apply.